Utilizing Predictive Risk Scoring
Predictive Risk Scoring in Invicti Enterprise helps you prioritize your web assets prior to scanning by giving an indication of how likely each website is to have vulnerabilities. This guide shows you how to use Predictive Risk Scoring to order and filter your discovered web assets based on their Risk Score, so you can focus on scanning and fixing your most vulnerable websites first.
TIP: For more information about Predictive Risk Scoring and how it works, refer to Introduction to Predictive Risk Scoring. |

How to enable or disable Predictive Risk Scoring
To start using Predictive Risk Scoring, you first need to ensure that the feature is enabled in the Discovery Settings by following the steps below:
- Log in to Invicti Enterprise.
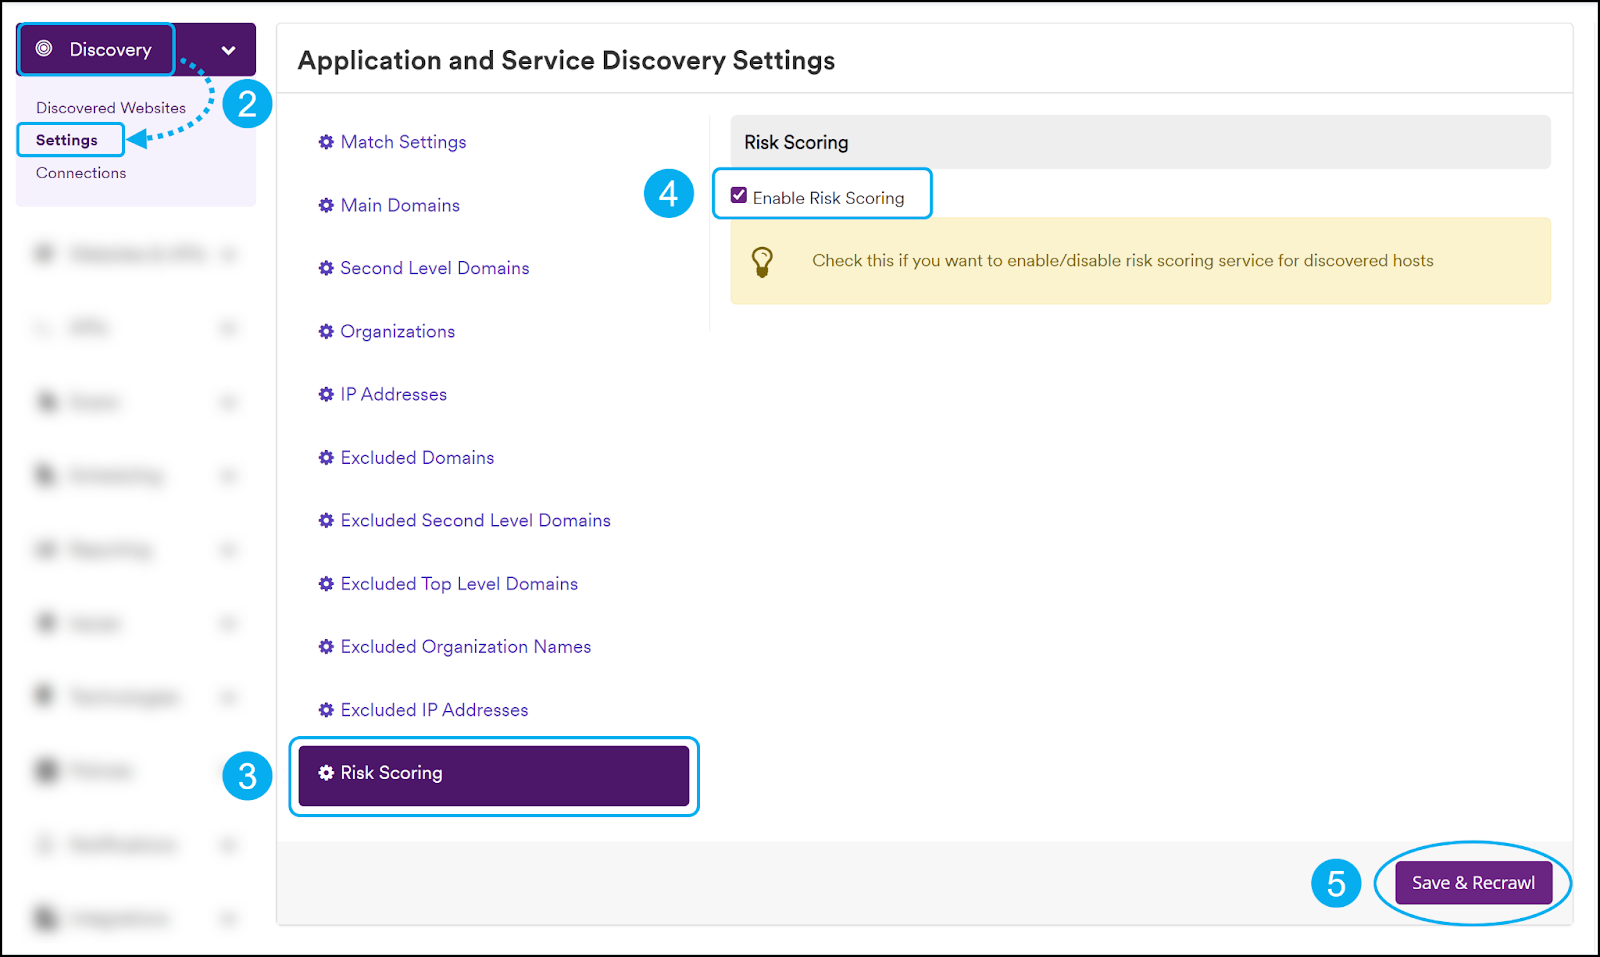
- Go to Discovery > Settings.
- Select Risk Scoring on the Application and Service Discovery Settings page.
- Select (to enable) or deselect (to disable) the checkbox next to Enable Risk Scoring.
- Click Save & Recrawl.
How to use Predictive Risk Scoring
Predictive Risk Scoring runs in the background as part of the Discovery Service. Risk Scores are displayed on the Discovered Websites page for each of your discovered web assets. Filtering and sorting your discovered web assets according to their Risk Score allows you to easily determine which sites to scan immediately and which sites can be scanned next.
How to view Risk Scores
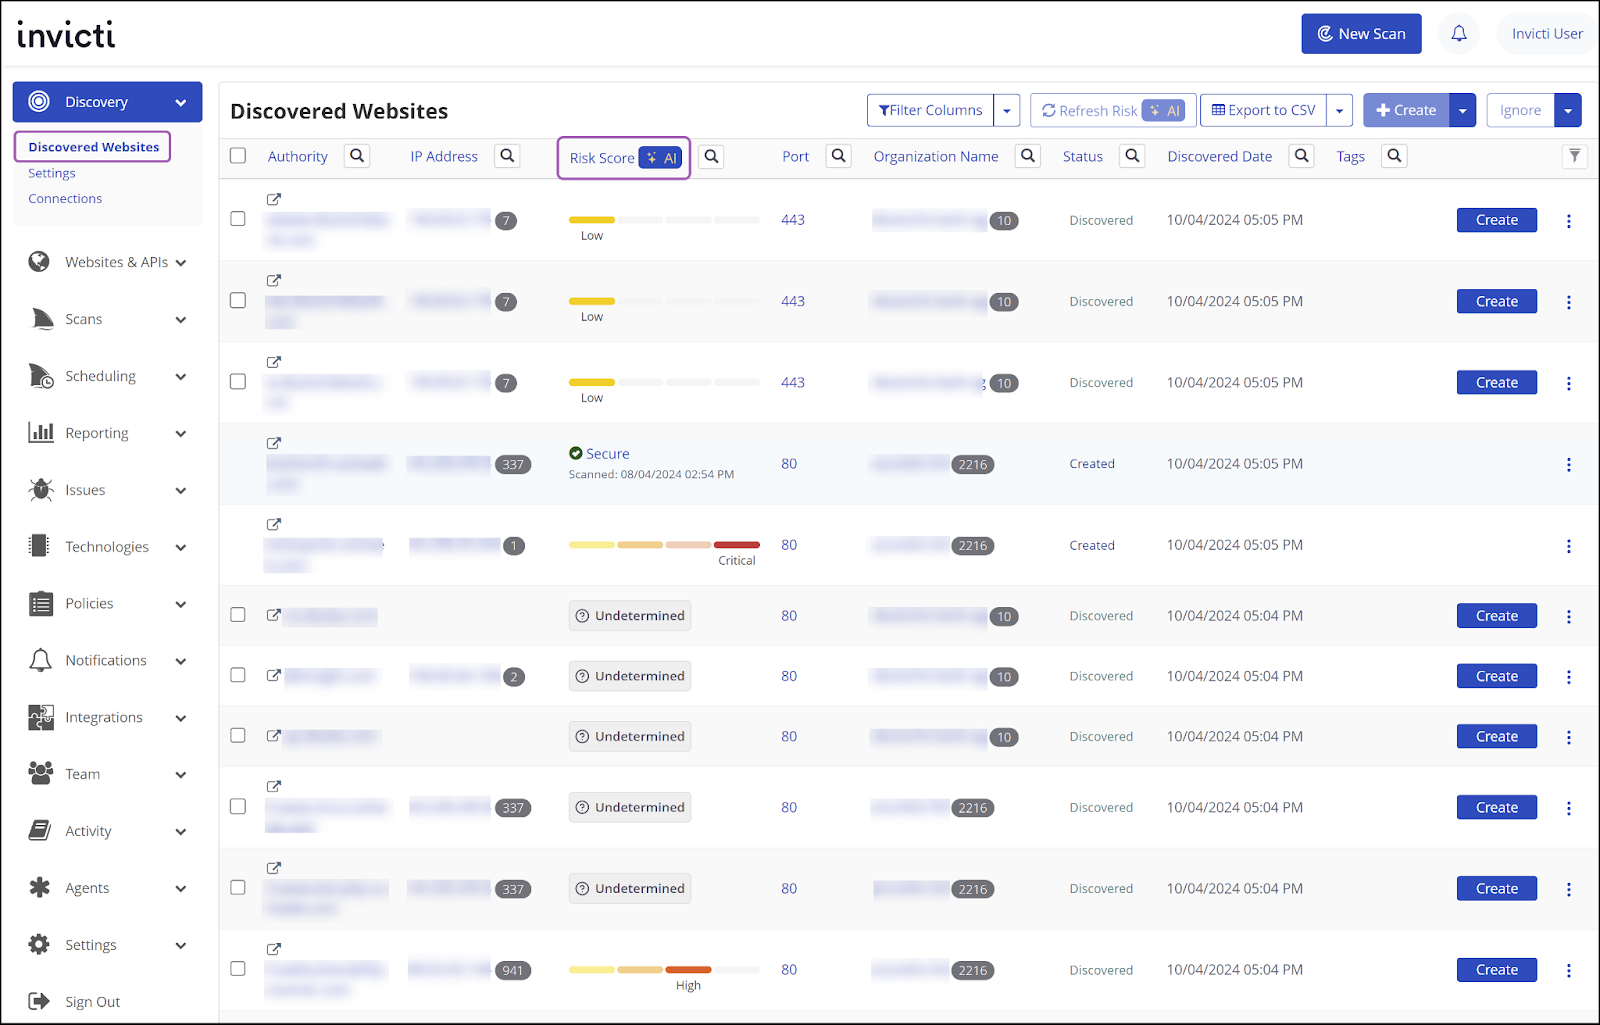
- Go to Discovery > Discovered Websites.
- The Discovered Websites page displays a table with details of each web asset that has been detected by Invicti.
TIP: You can adjust the Discovery Settings to specify which domains, IP addresses, and organization names are included or excluded in your Discovery results. For more information, refer to Configuring the Discovery Service. |

- The third column in the table displays the Risk Score for each web asset. The possible risk scores are:
- Critical: The site is predicted to have at least one critical severity vulnerability.
- High: The site is predicted to have at least one high severity vulnerability.
- Medium: The site is predicted to have at least one medium severity vulnerability.
- Low: The site is predicted to have at least one low severity vulnerability.
- Undetermined: Invicti was unable to calculate a risk score for the site.
- Temporarily Unavailable: A risk score cannot be calculated at this time. Check back later.
- Scoring queued: The risk score will be calculated soon and will update its state once complete.
- Loading: The risk score is currently being calculated and will be displayed shortly.
TIP: When a discovered website has been imported and scanned, the Risk Score information updates to show the date and time of the most recent scan of that website. |

How to filter by Risk Score
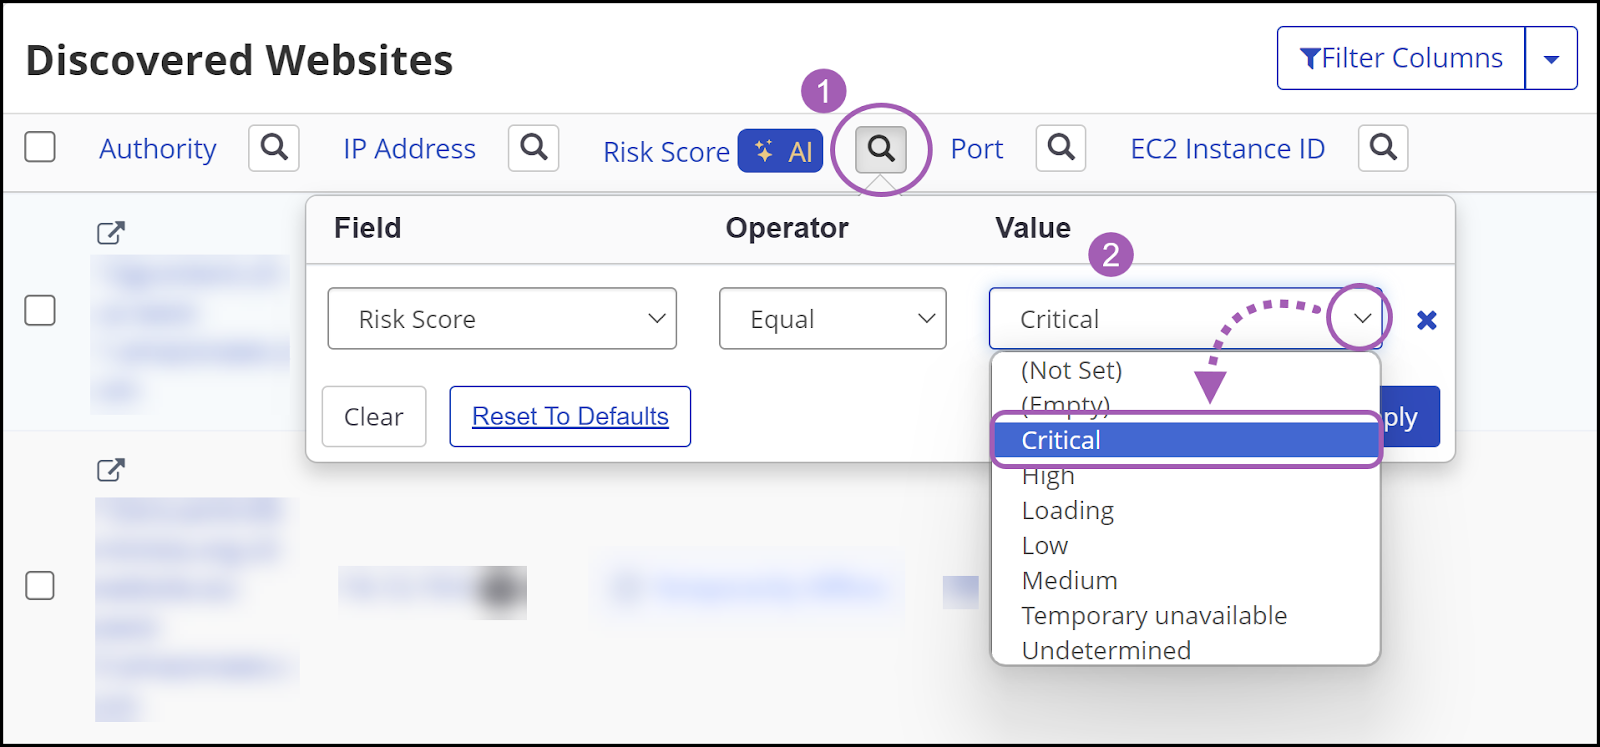
- Click the search icon next to Risk Score. The filter dialog appears.
- Use the Value field drop-down to select a risk score from the available options that appear.
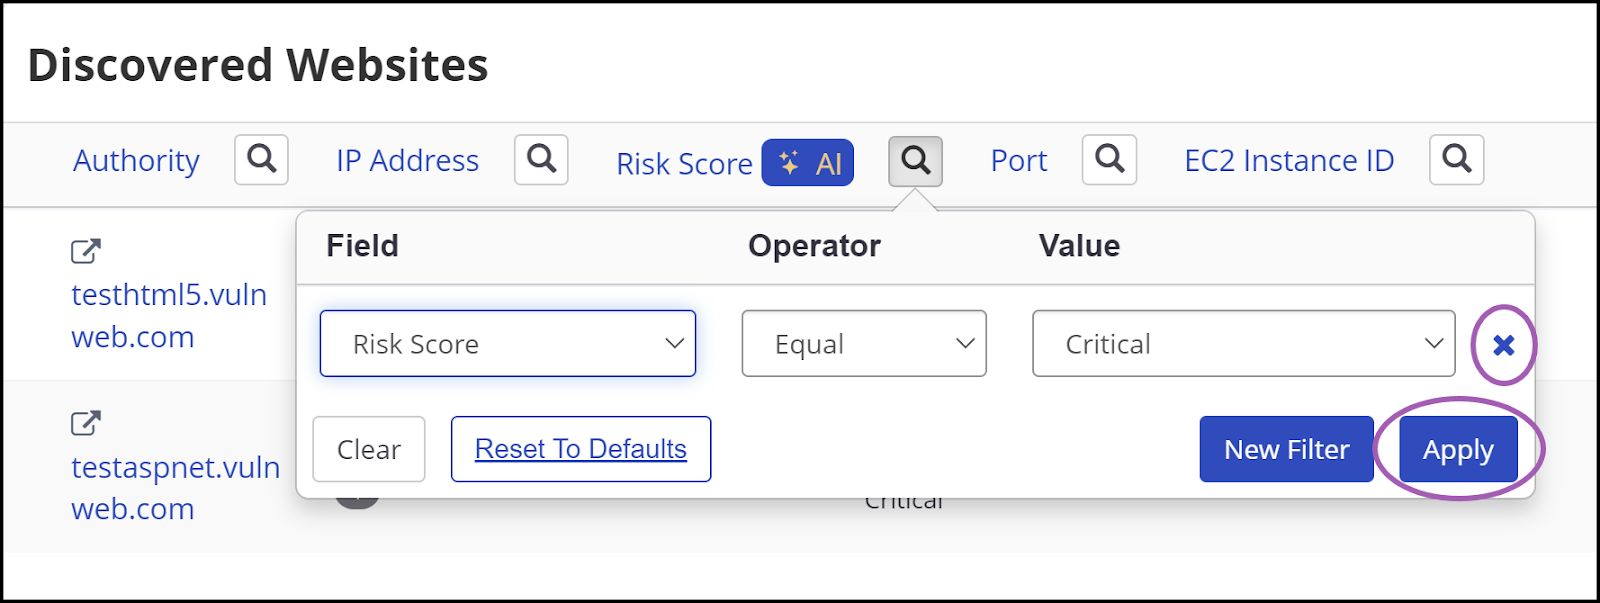
- Select Apply. Your Discovered Websites are now displayed according to the filter you specified.
- To clear your filter settings, click the X in the filter dialog, then select Apply.
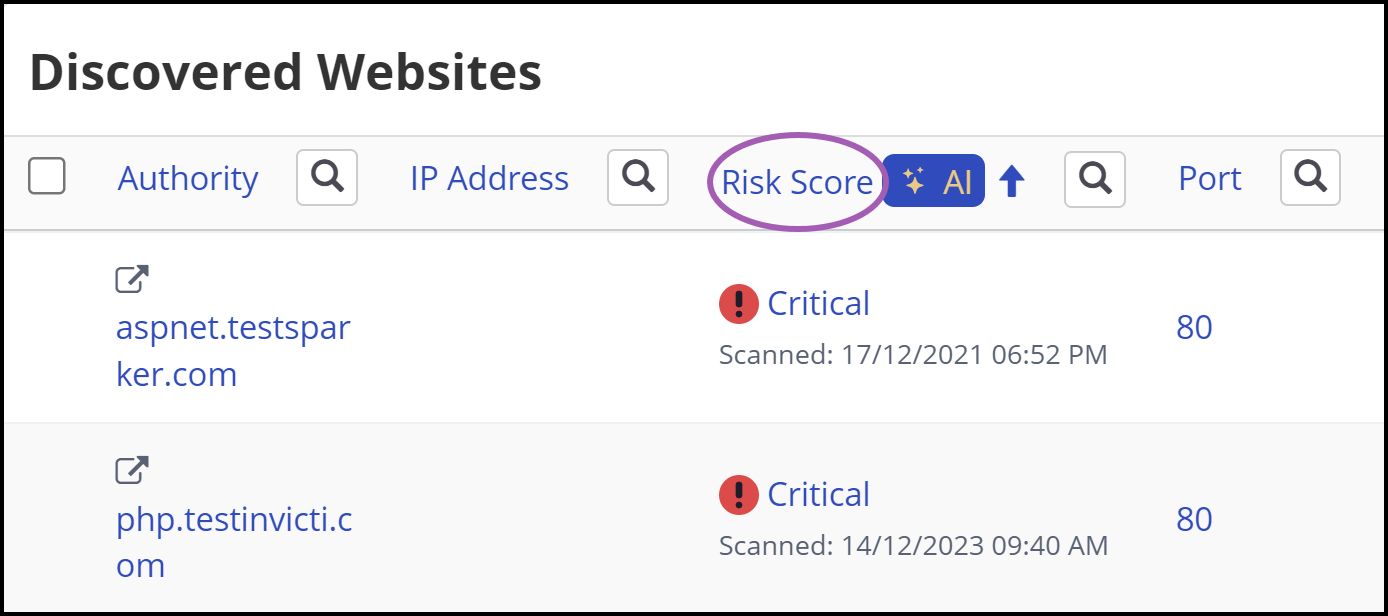
How to sort by Risk Score
- Click the Risk Score heading on the Discovered Websites table.
- Your web asset discovery results are now displayed in ascending or descending priority order (depending on the direction of the arrow), with critical as the highest priority risk score.
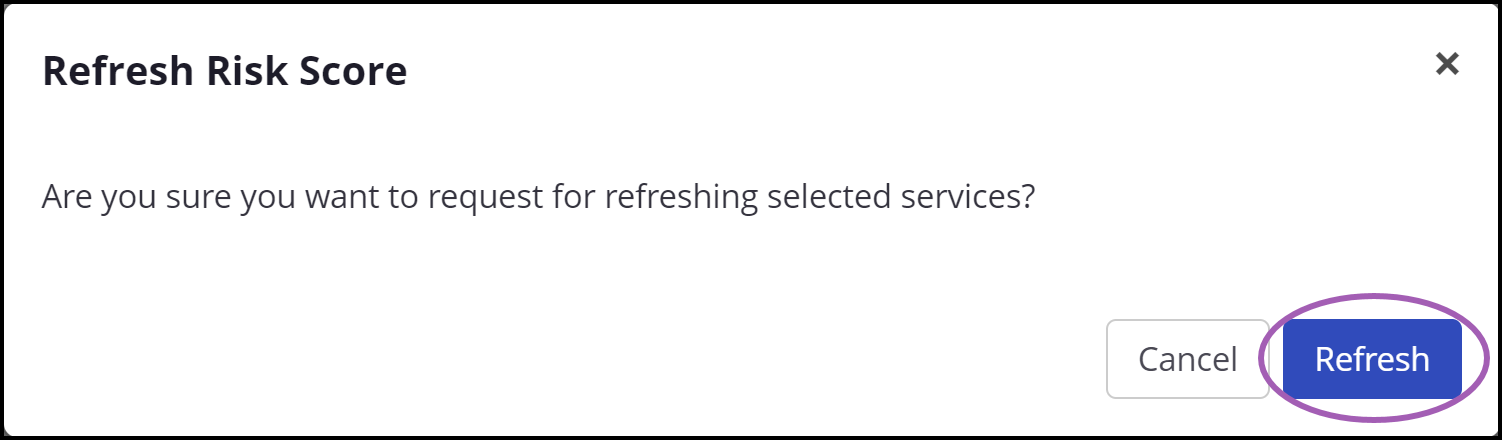
How to refresh Risk Score results
- Use the checkboxes on the left of the Discovered Websites table to select web assets to refresh their Risk Score.
- Click Refresh Risk.

- Select Refresh in the Refresh Risk Score dialog.
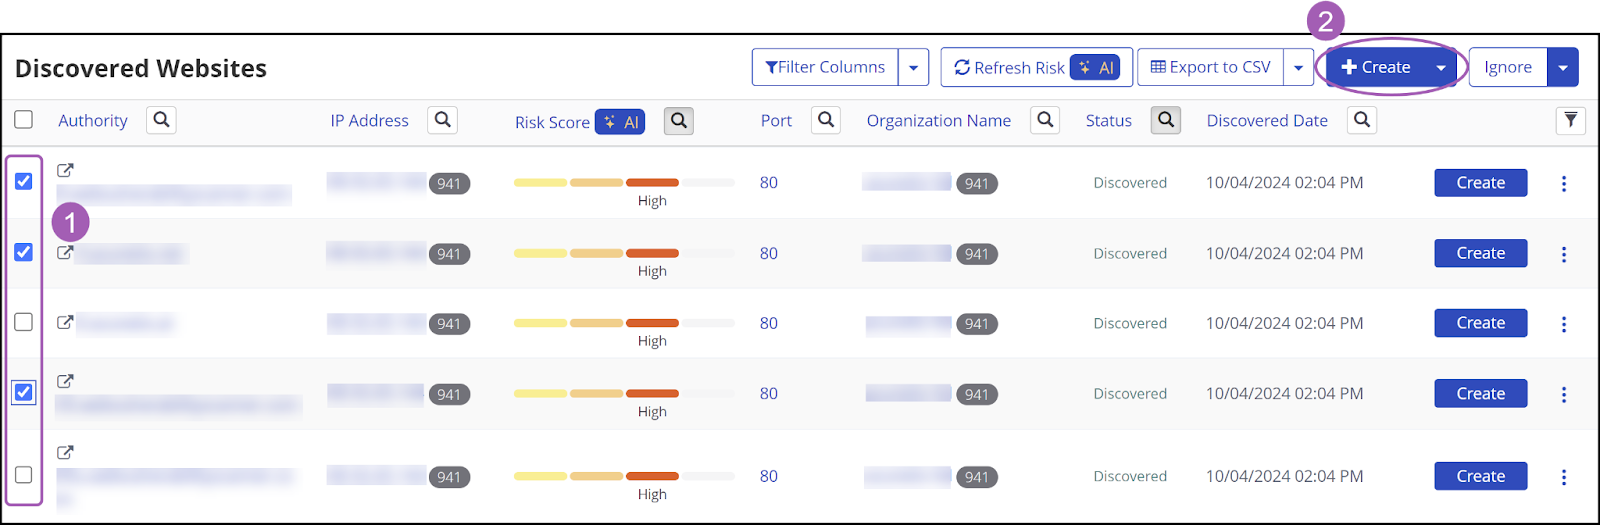
How to import discovered websites for scanning
After using the Risk Score information to identify your most vulnerable web assets, you can import those websites to immediately start scanning them for vulnerabilities. (For more information, refer to Managing the Discovered Websites List).
- On the Discovered Websites page, use the checkboxes on the left of the table to select websites to import for scanning.
- Click + Create.
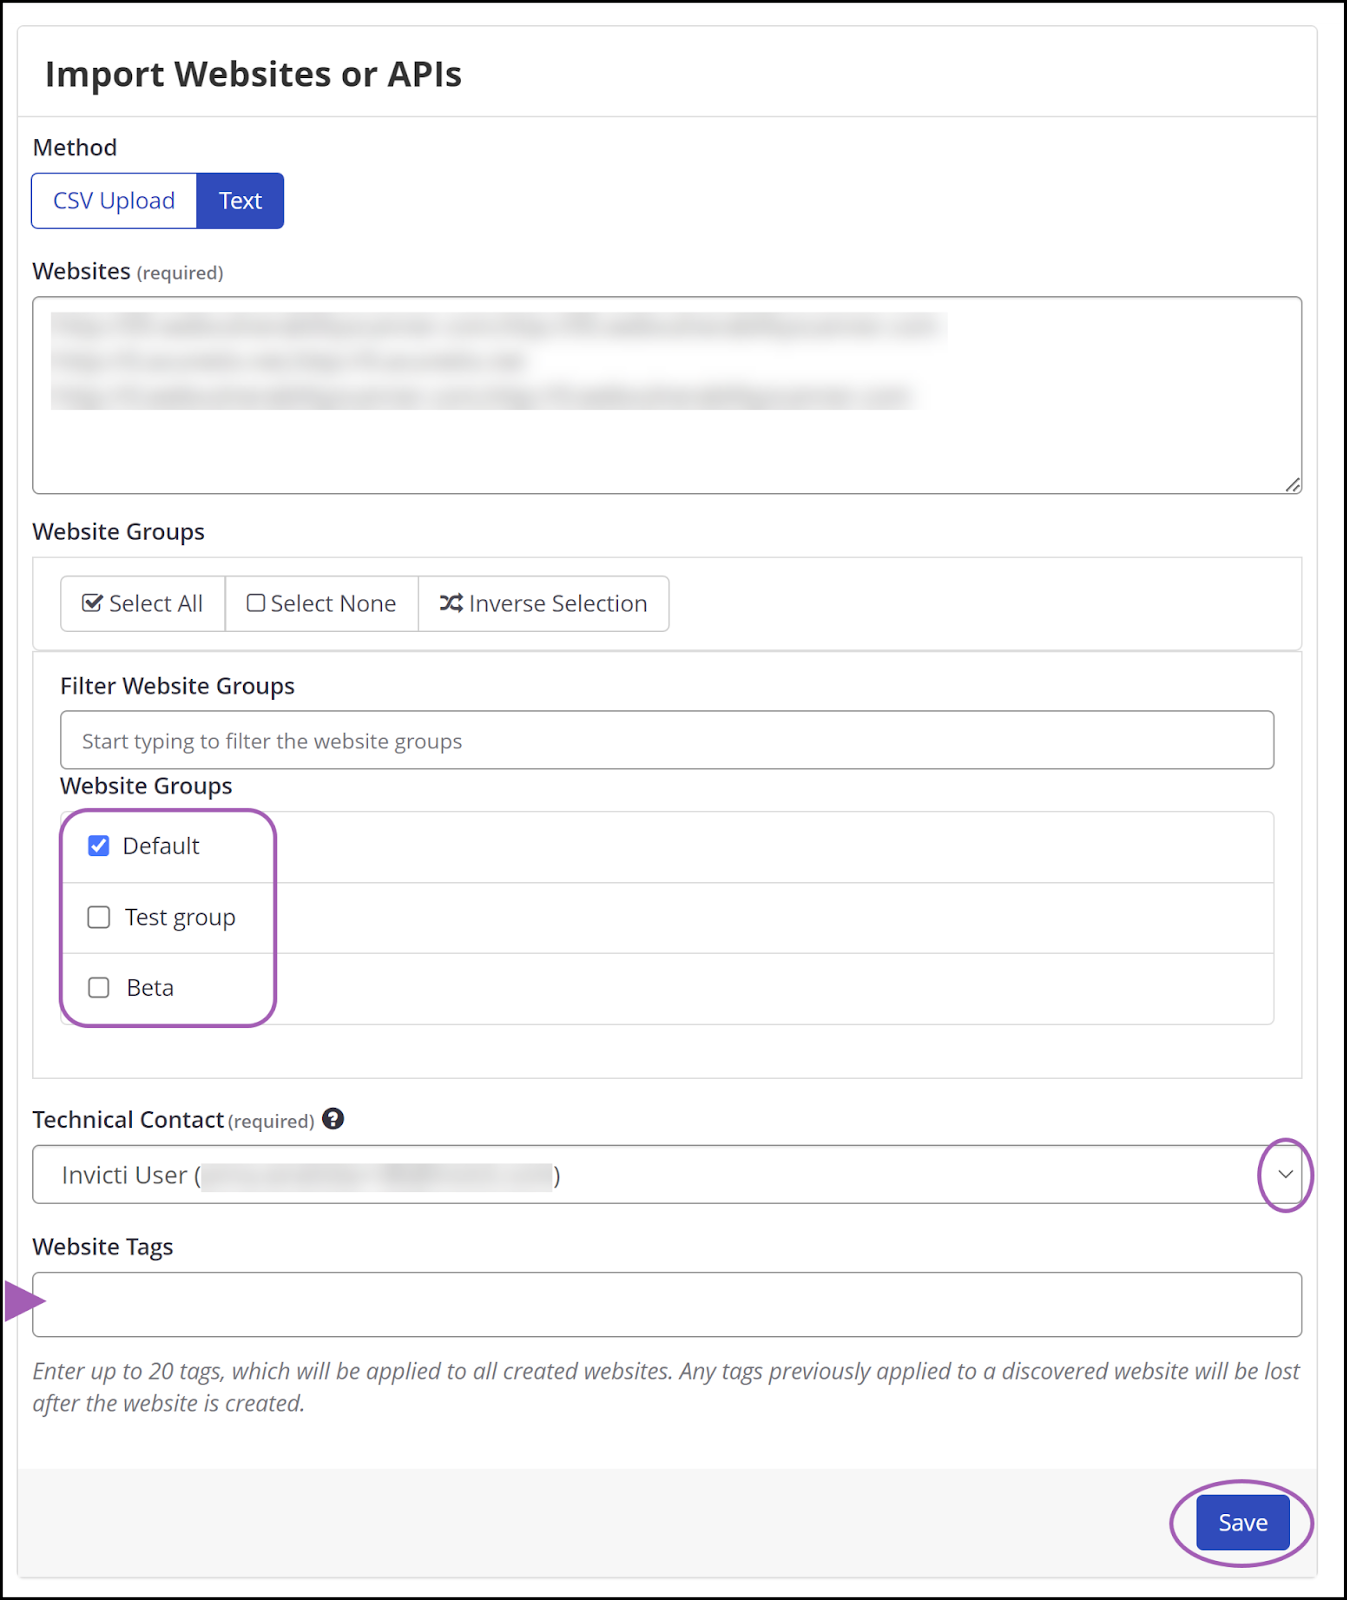
- If you have Target Groups set up, select the relevant Target Group or use the Default group.
- Use the drop-down menu to select an appropriate Technical Contact. New issues will be assigned to the user you select.
- In the Website Tags field, enter any tags you would like to apply for the website(s).
- Click Save.
The websites have now been imported and are available to view on the Targets page. From this page, you can now run a scan of the website. Alternatively, go to Scans > New Scan and click in the Target URL field to select your newly imported website to run a scan.
Further resources
Refer to the following documentation for information on how to complete all the Scan Settings before launching a scan: