Create and manage target groups
Target Groups can be used to group relevant targets for efficient filtering and running batch scans. This article explains how to create a target group and how to add existing targets to a target group. It also provides instructions for editing and deleting target groups. For introductory and use case information about target groups, refer to What are Target Groups?
How to create a target group
- Log in to Invicti Enterprise.
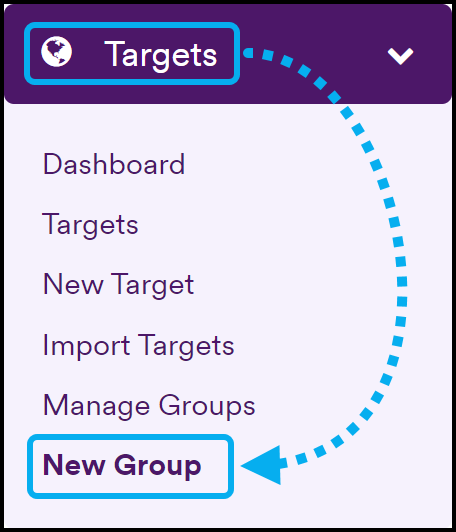
- Select Targets > New Group from the left-side menu.
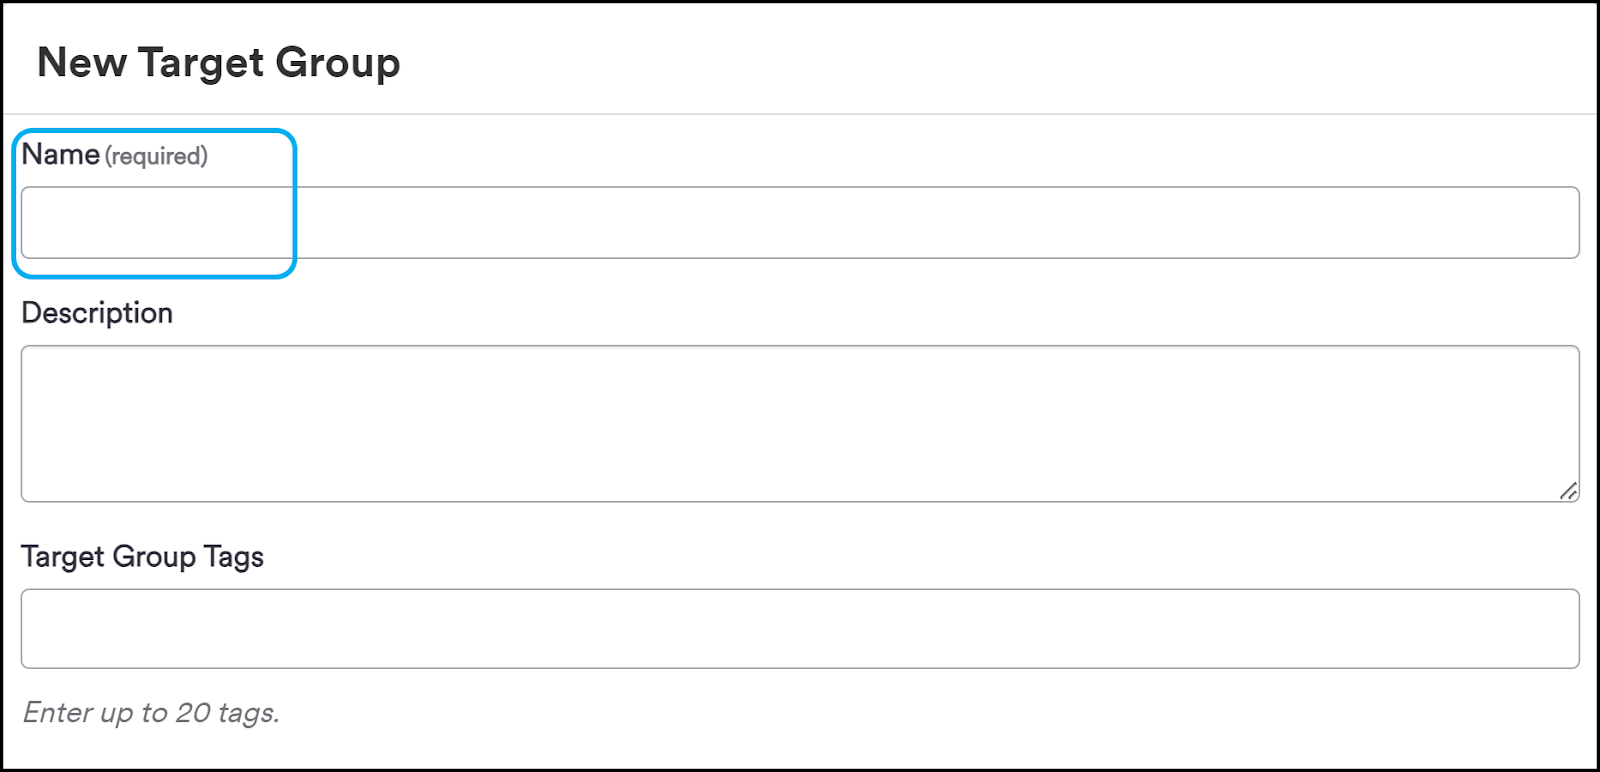
- Enter a Name for the new target group.
- Optionally, add a Description to provide additional information about the new target group.
- In the Target Group Tags field, optionally enter up to 20 tags. These are usually labels to give additional context. For more information, refer to Tagging in Invicti Enterprise.
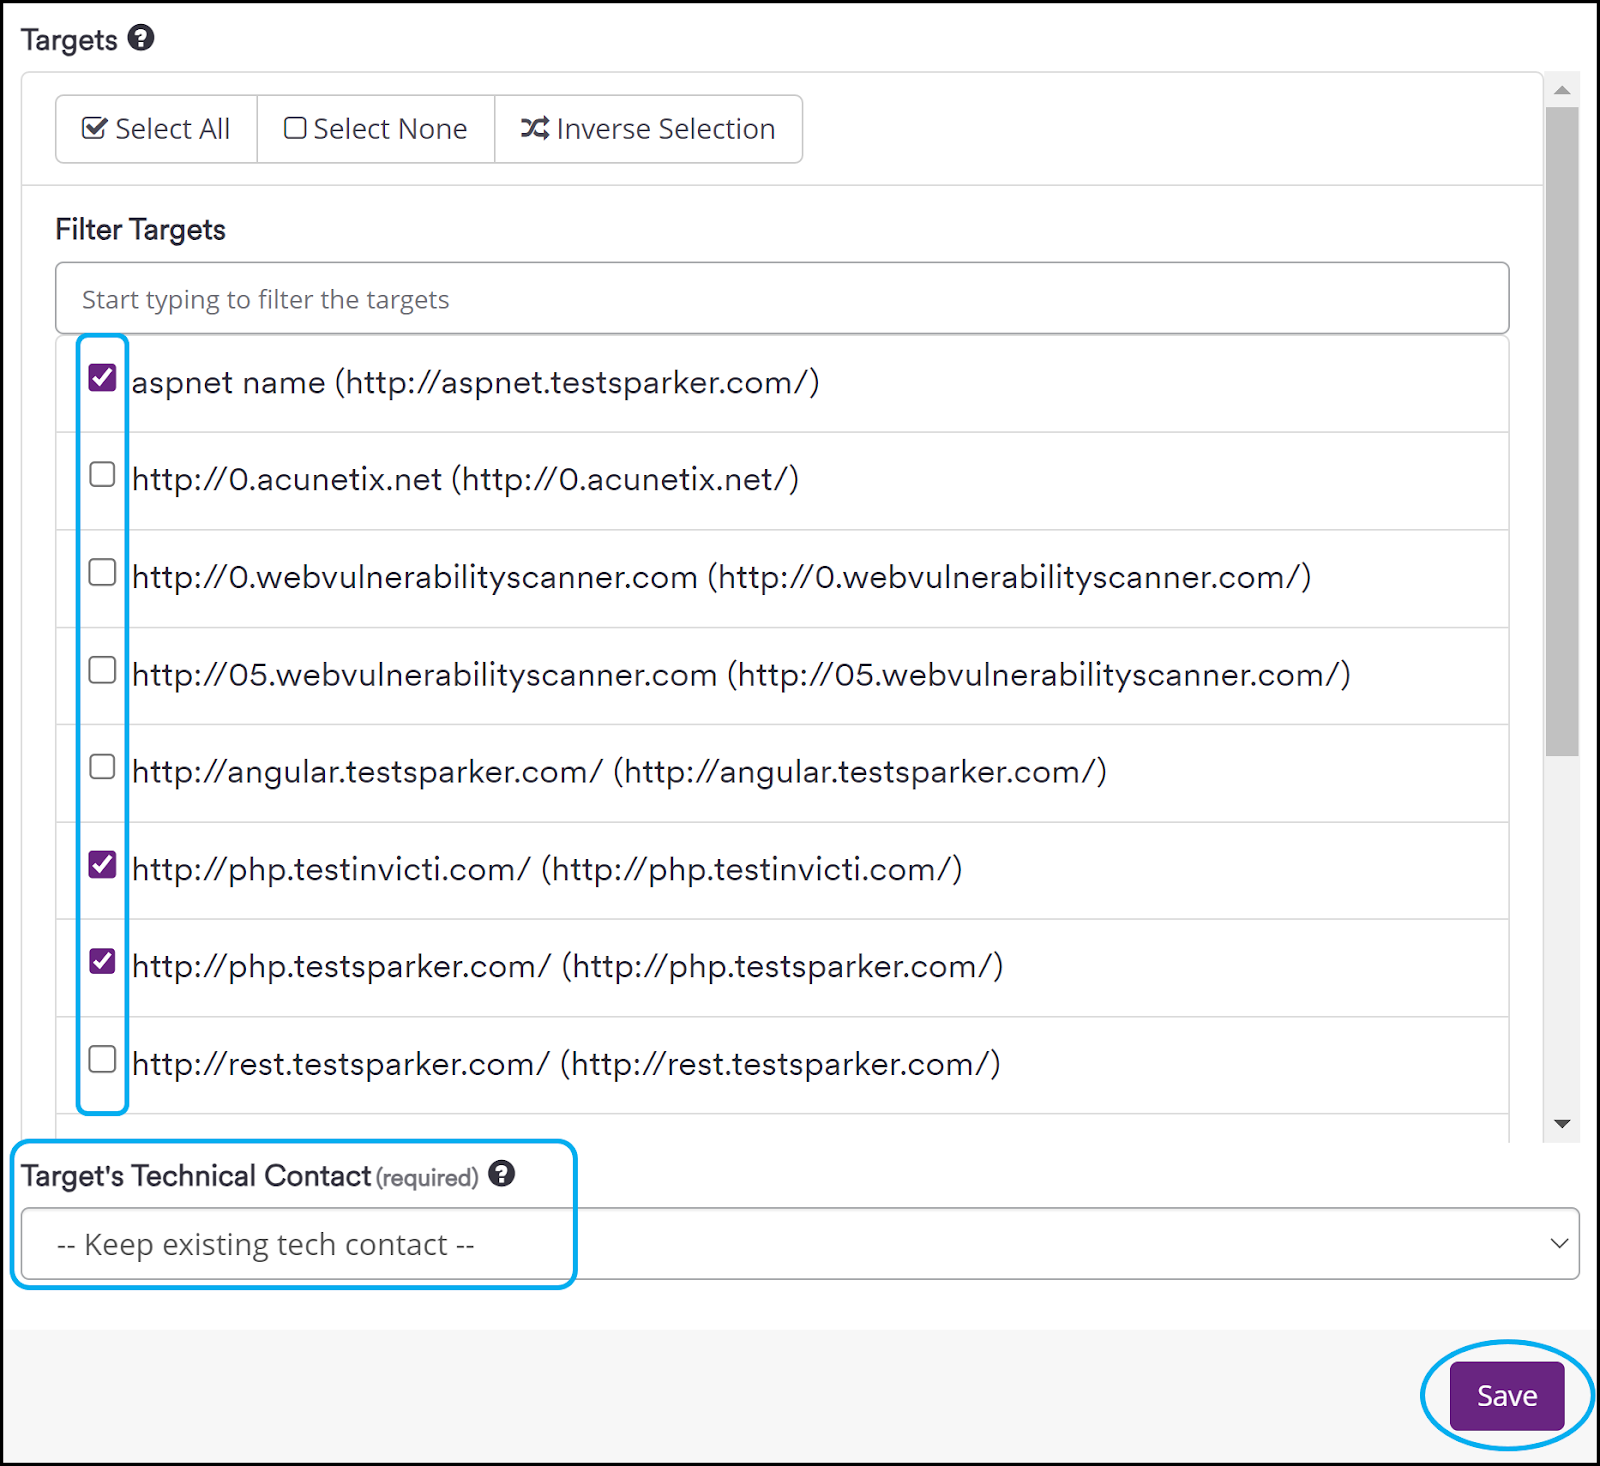
- Select the targets you want to be included in the new target group.
- Use the Target's Technical Contact drop-down menu to select a technical contact person from the user account list. New issues discovered for each target in the target group will be assigned to this user. The technical contact you select will also be applied as the technical contact to all targets that are added to the target group.
- Click Save.
The newly created target group is now visible on the Target Groups page. Select Targets > Manage Groups from the left-side menu to view, edit, or launch a scan of a target group.
How to add a target to a group
Adding targets to a target group is usually done at the time of creating a new target. However, you can also add targets to a target group after creating them. Follow the steps below to add an existing target to a target group:
- Select Targets > Targets from the left-side menu.

- Click Edit beside the target that you want to add to a target group.

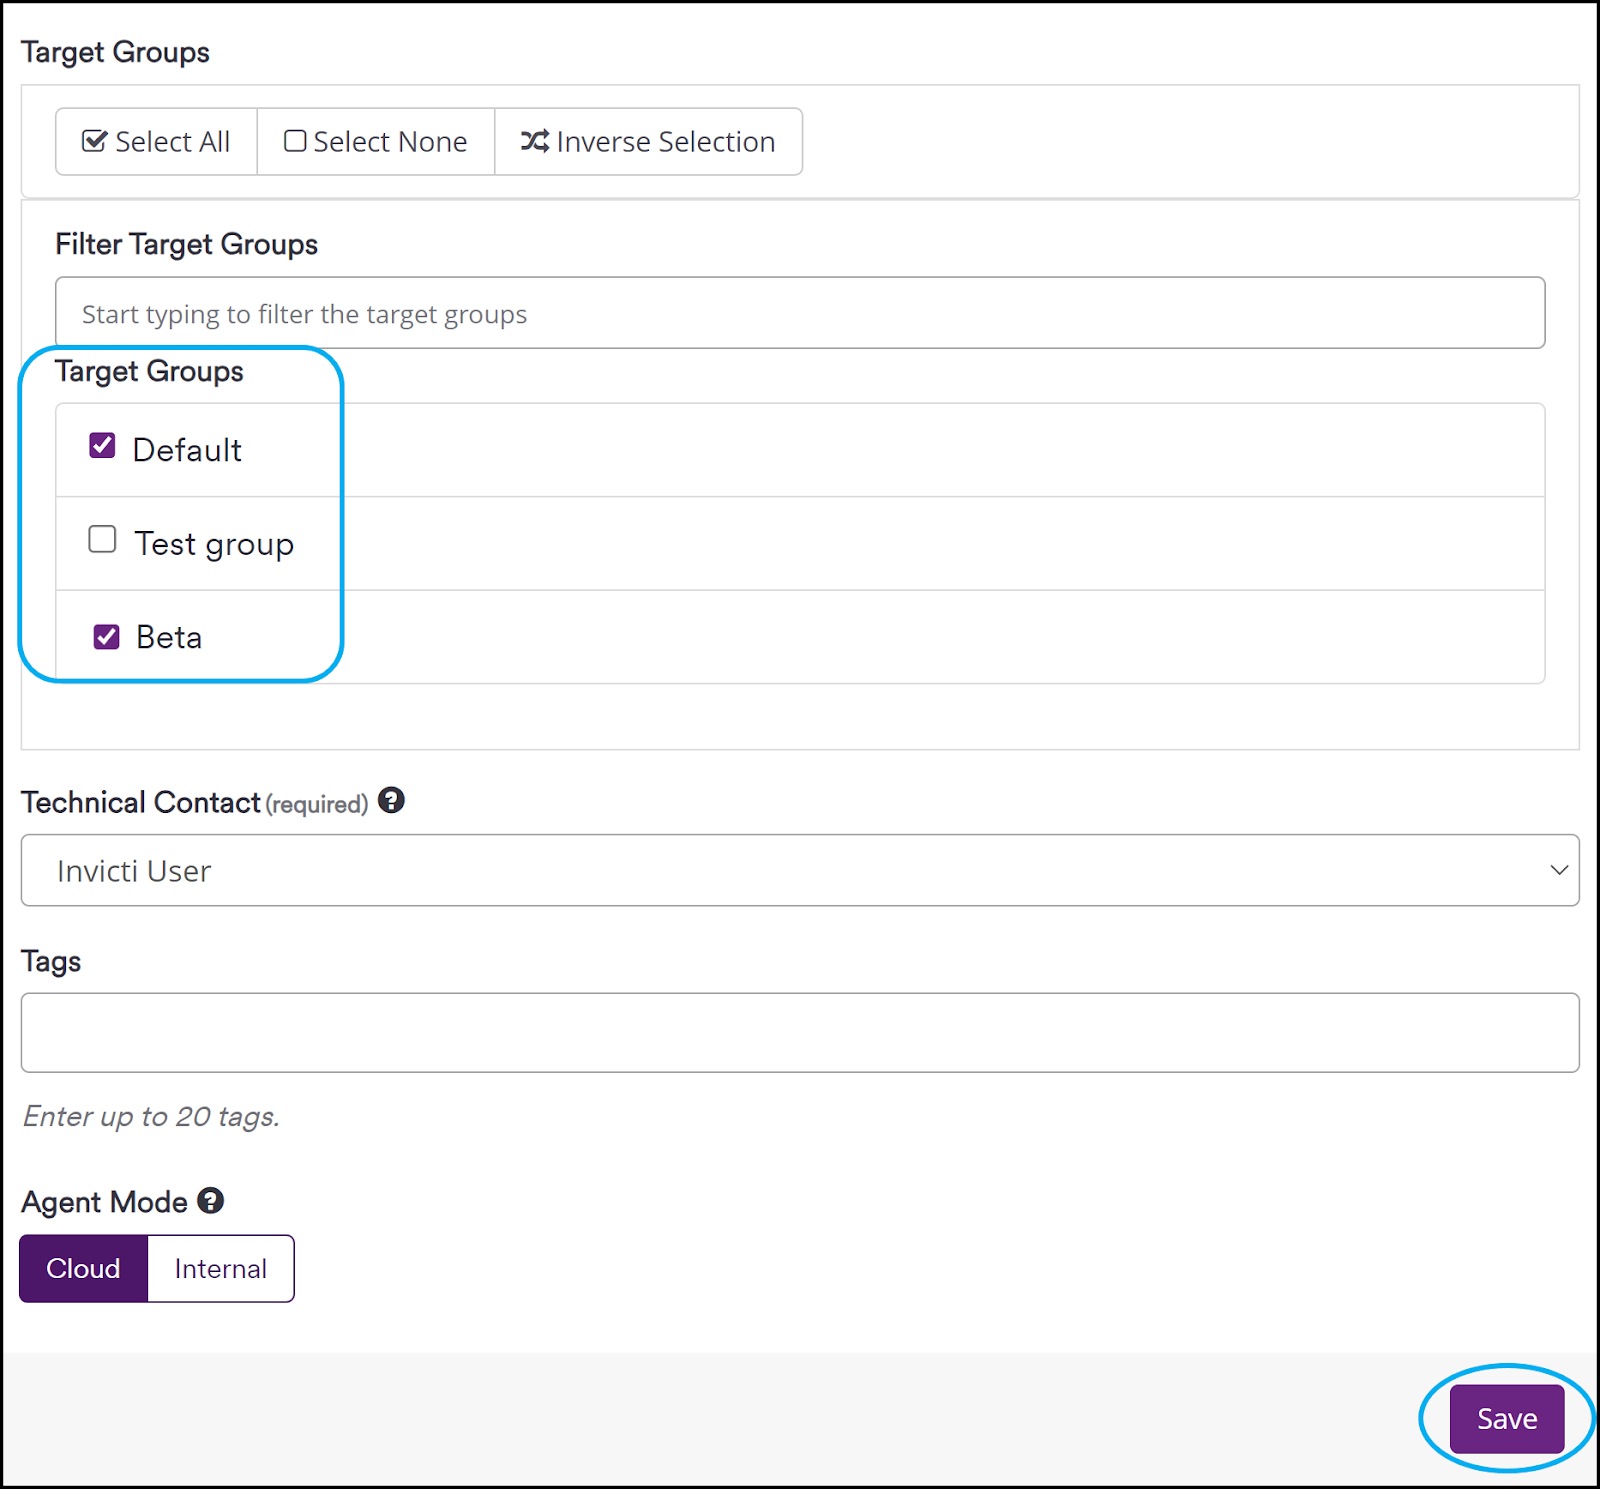
- In the Target Groups section, select the target group where you want to add the target.
- Click Save.
The edited target is now added to the selected target group(s).
How to edit a target group
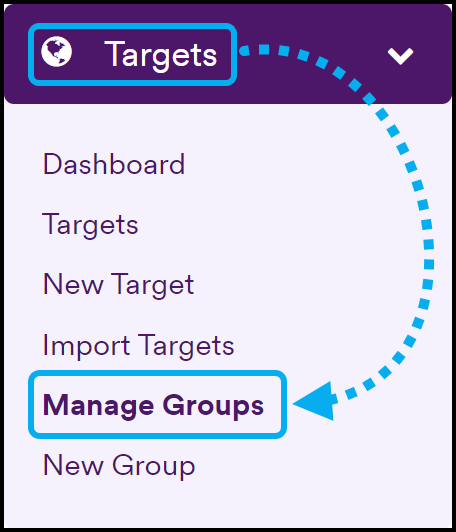
- Select Targets > Manage Groups from the left-side menu.
- Click Edit beside the target group that you want to edit.

- Make your edits, then click Save.
How to delete a target group
IMPORTANT: To delete a target group, you must first remove all targets associated with the target group. |

- Select Targets > Manage Groups from the left-side menu.

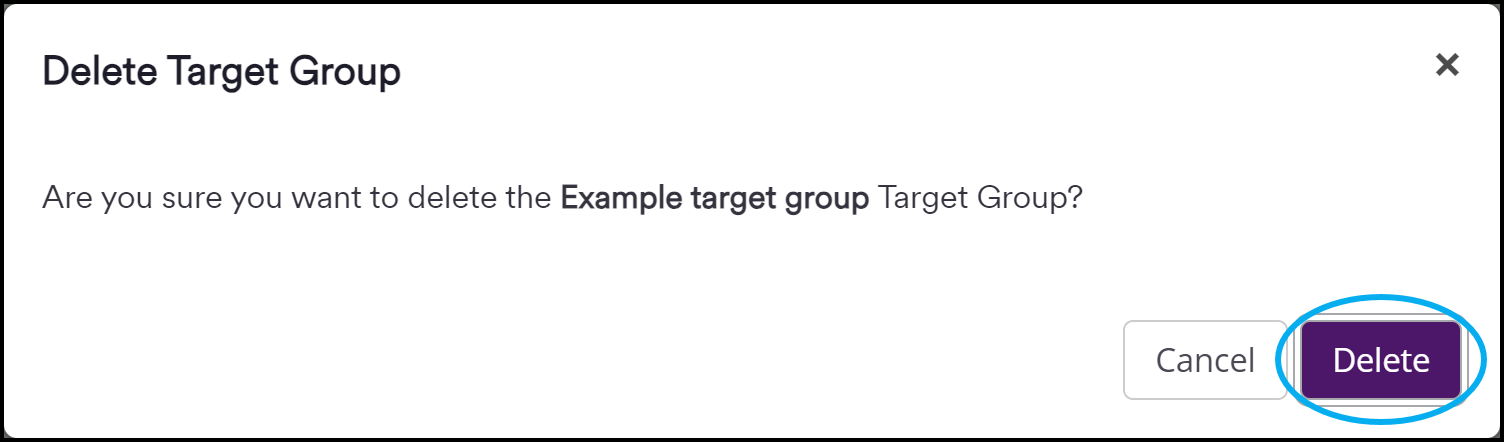
- Click Delete beside the target group you want to remove.

- Select Delete to confirm the deletion of the target group.
The target group is now deleted from your Invicti Enterprise account.