Configuring Invicti IAST Bridge
Invicti IAST Bridge is a necessary application to facilitate communication between IAST sensors and Invicti Enterprise.
Invicti Shark (IAST) helps you run interactive security testing via Invicti Enterprise. That helps confirm more vulnerabilities and further minimize false positives. By adding IAST capabilities with the Shark, Invicti also shows the exact location of the issue and ensures that the entire web application is scanned. For more information, refer to Deploying Shark (IAST) in Invicti Enterprise On-Premises.
For Invicti Shark to operate, you need to download the Shark sensor and deploy it on your server. Additionally, you must configure the Invicti IAST Bridge for Java, .NET, and Node.js sensors. Note that the PHP sensor does not use the IAST Bridge.
How IAST Bridge communicates
The bridge is used to relay information from the Shark sensor to the Invicti scanner agent. The following steps show how the IAST Bridge facilitates communication between the scanner and the sensor:
- When the scan is launched, the Scanner connects to the bridge. The scanner includes the IAST token, which is the identifier throughout the scan.
- The Bridge starts listening for connections for the scan.
- When the sensor needs to send data, it sends the data to the bridge, together with the IAST token.
- The bridge sends the data to the correct scanner (identified by the IAST token) connected to receive that data.
Both the scanner agent and Shark sensor connect to the IAST Bridge via the address and port configured for the IAST Bridge. As a result, the IAST Bridge receives connections from the scanning engine and from the IAST sensors.
Setting up the IAST Bridge on Invicti Enterprise
You can set up the IAST Bridge if you have Invicti Enterprise On-Premises.
TIP: The IAST Bridge is included in the Invicti Enterprise On-Premises installation package delivered to you via a .zip file. |

How to install the Invicti IAST Bridge
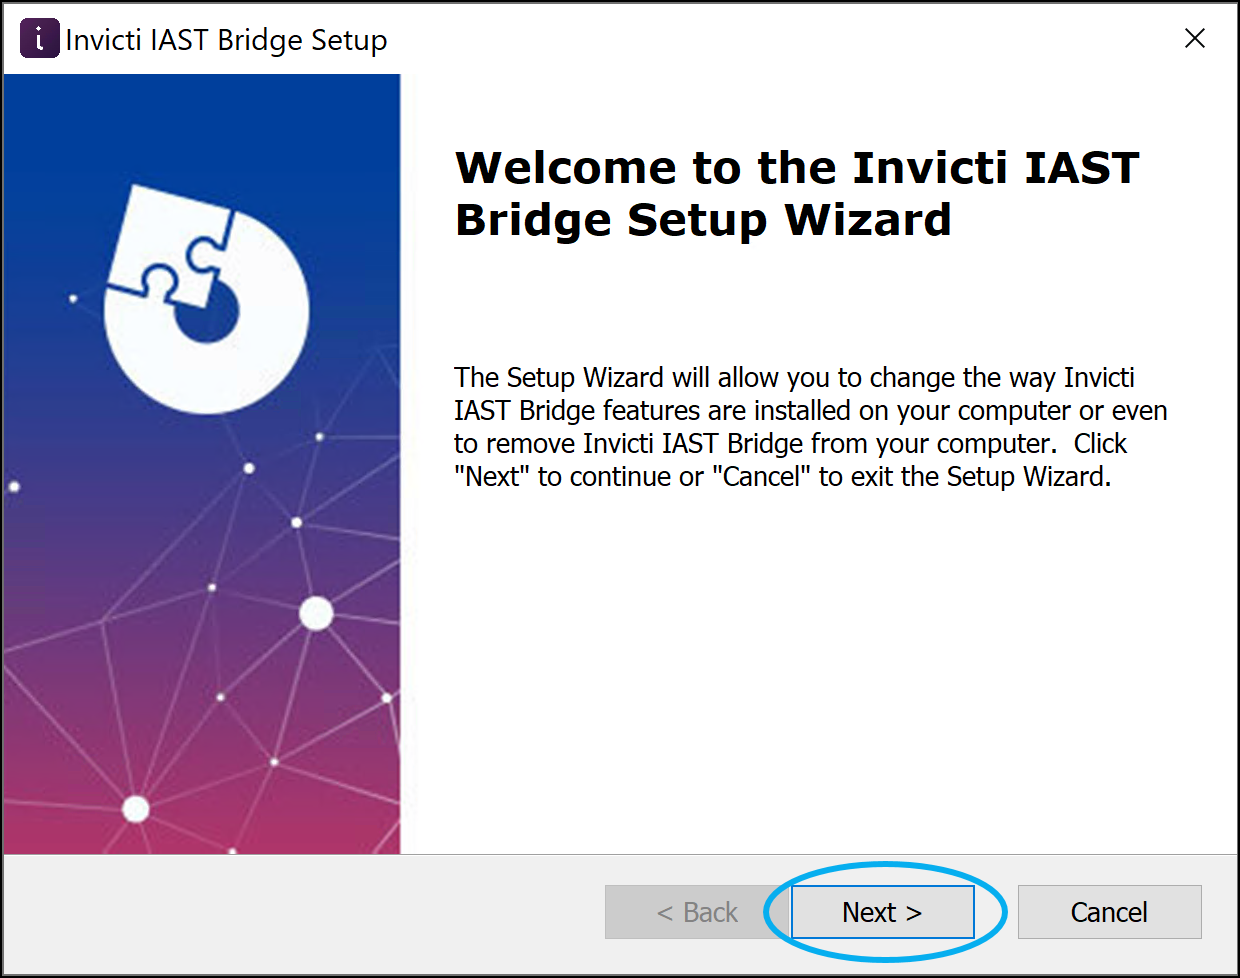
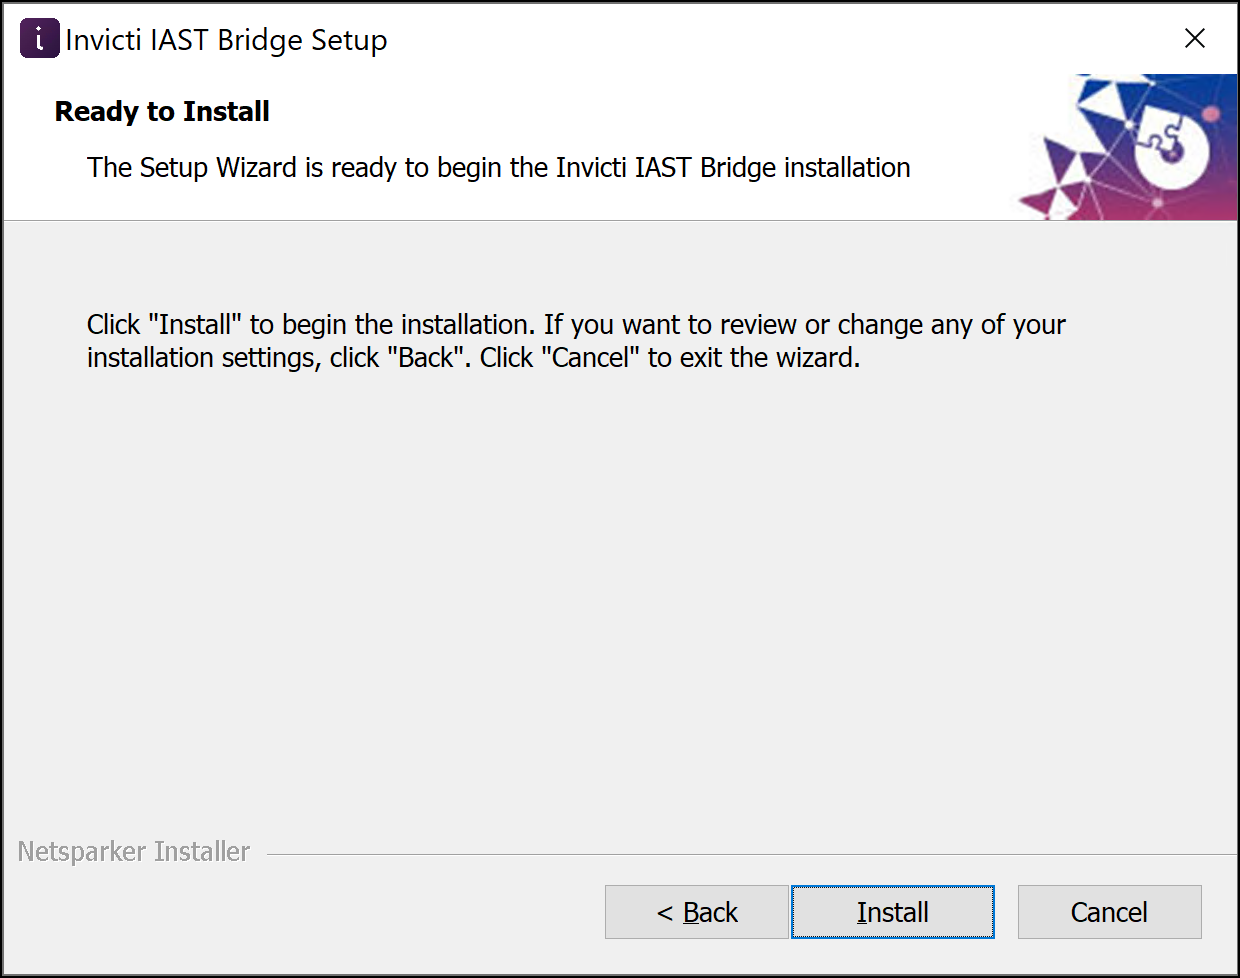
- Run the IASTBridgeSetup.exe file.
- On the Welcome to the Invicti IAST Bridge Setup Wizard window, select Next.
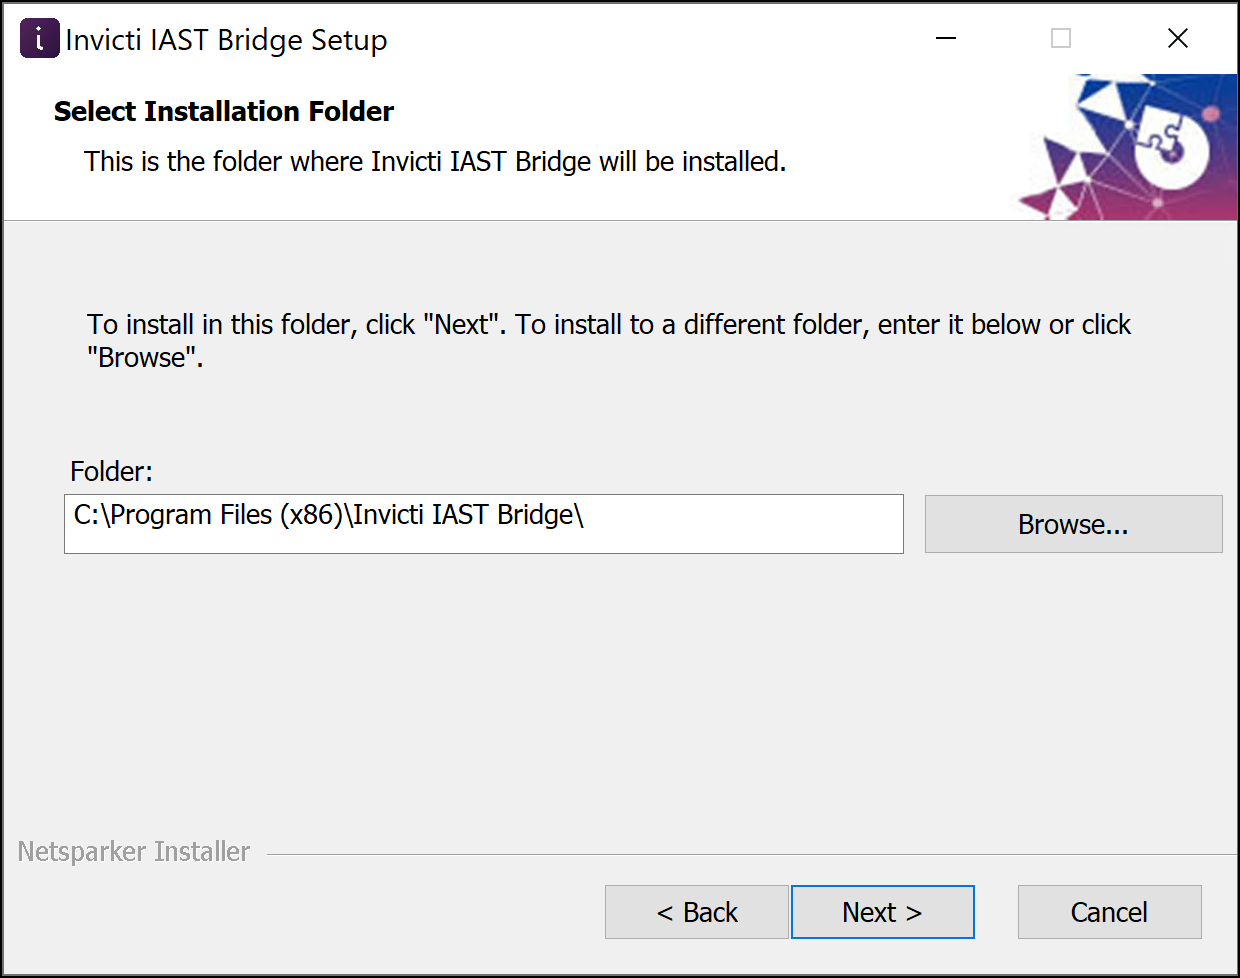
- Select Browse if you want to install the IAST Bridge to a different folder than the default folder. Select Next.
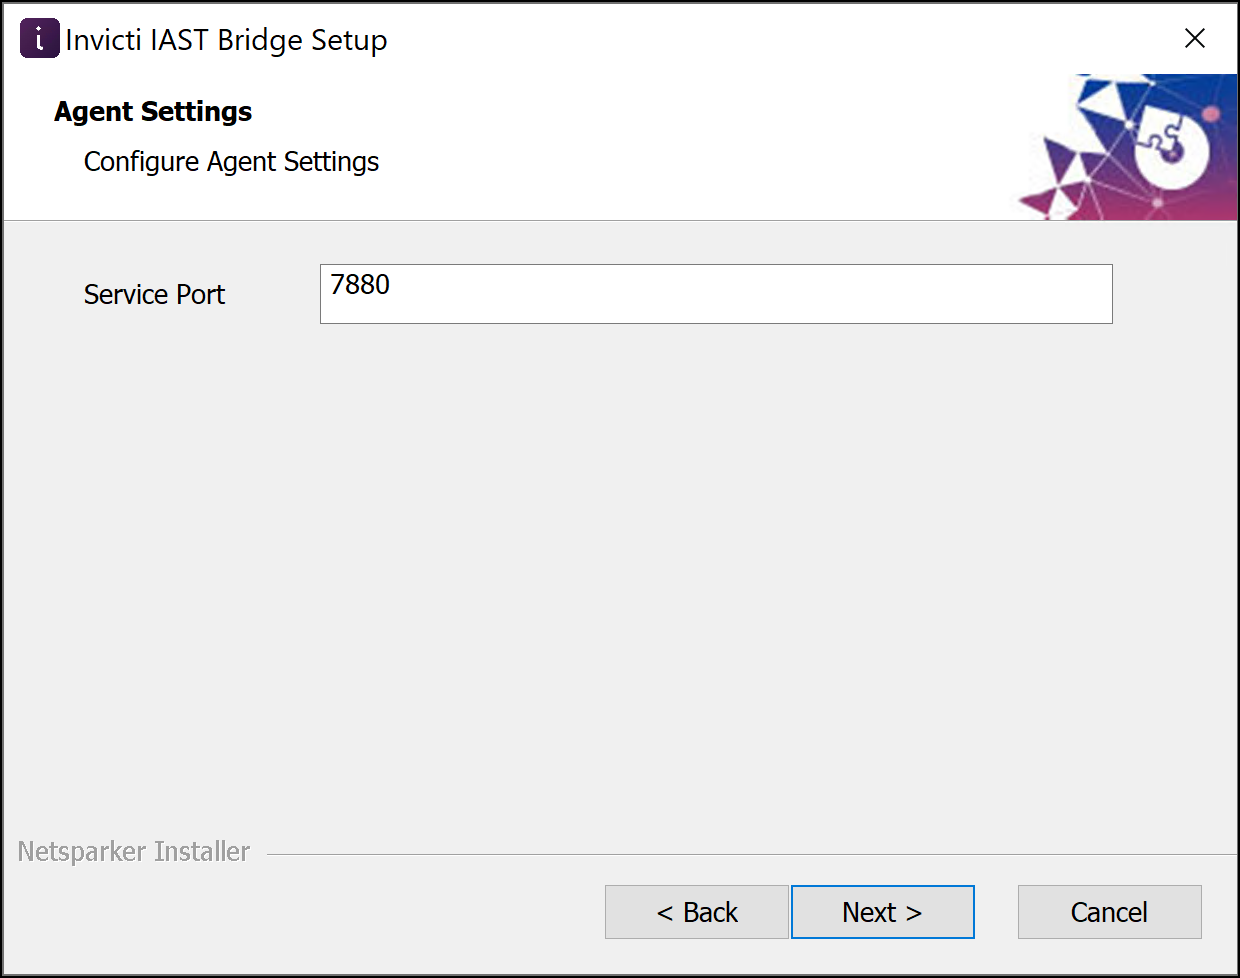
- On the Agent Settings window, enter the Service Port. By default, it is 7880.
- Select Install to complete the installation.
How to set up a custom bridge service
- Press the Windows logo key
- Type Services and open the Services application.
- Make sure the Invicti IAST Bridge is running.

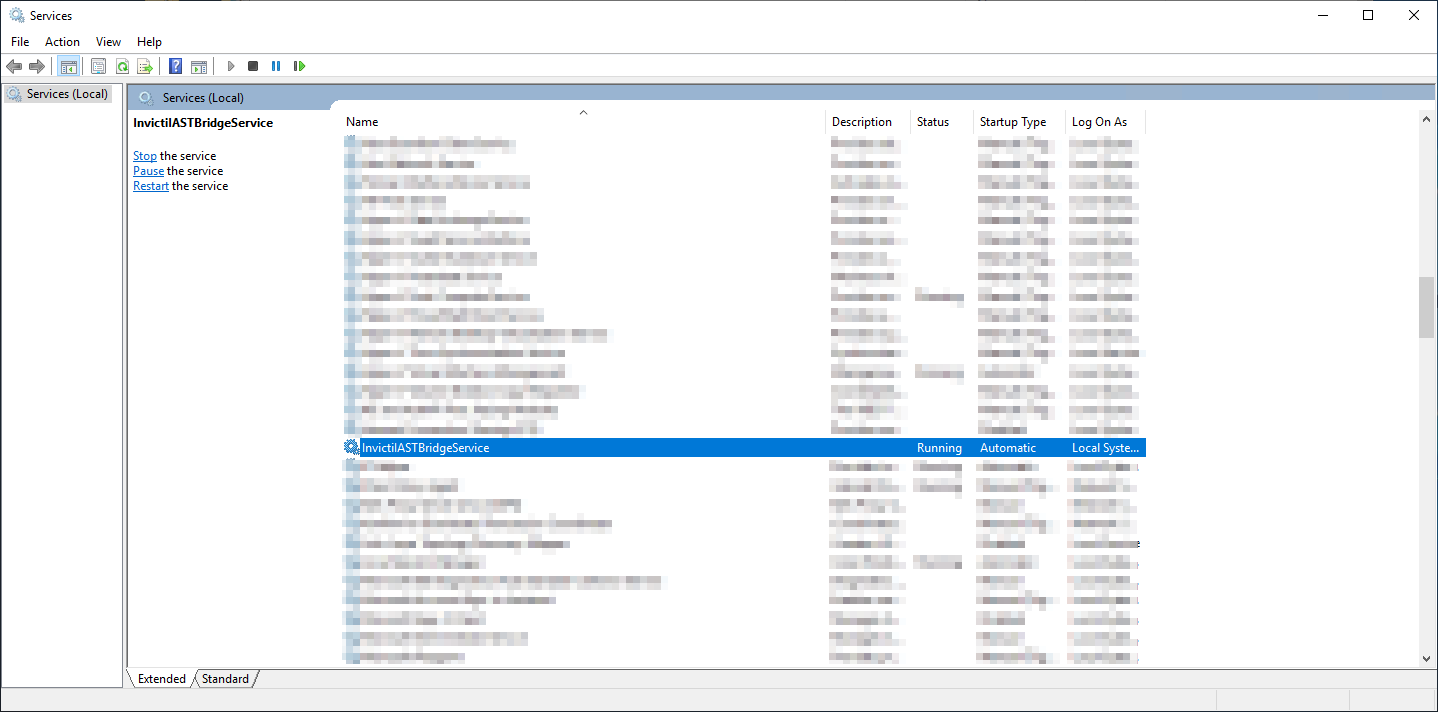
NOTE: By default, the Invicti IAST Bridge runs at the 7880 port using HTTPS. |

- Log in to Invicti Enterprise On-Premises.
- Select Settings > General from the left-side menu.
- Locate the IAST Bridge Settings section.
- Enter your custom URL in the Default Bridge URL field. (You can enter your custom URL like this: https://52.58.213.161:7880)

- Click Save.
Configuring Invicti Enterprise On-Premises for a custom IAST bridge
You can configure the bridge address on the General Settings page or the Shark Settings.
- You can set the default bridge URL and port on the General Settings page.
- In the Shark Settings, the advanced setting lets you override the default bridge URL for each website.
You can use the URL provided by Invicti as a bridge URL and port, or you can set up a custom bridge.
IMPORTANT: Ensure that the Shark sensors can connect to the address/port specified. |

How to configure the default IAST Bridge URL via the General Settings page
- Log in to Invicti Enterprise On-Premises.
- Select Settings > General from the left-side menu.
- Into the IAST Bridge Settings field, enter your bridge URL.
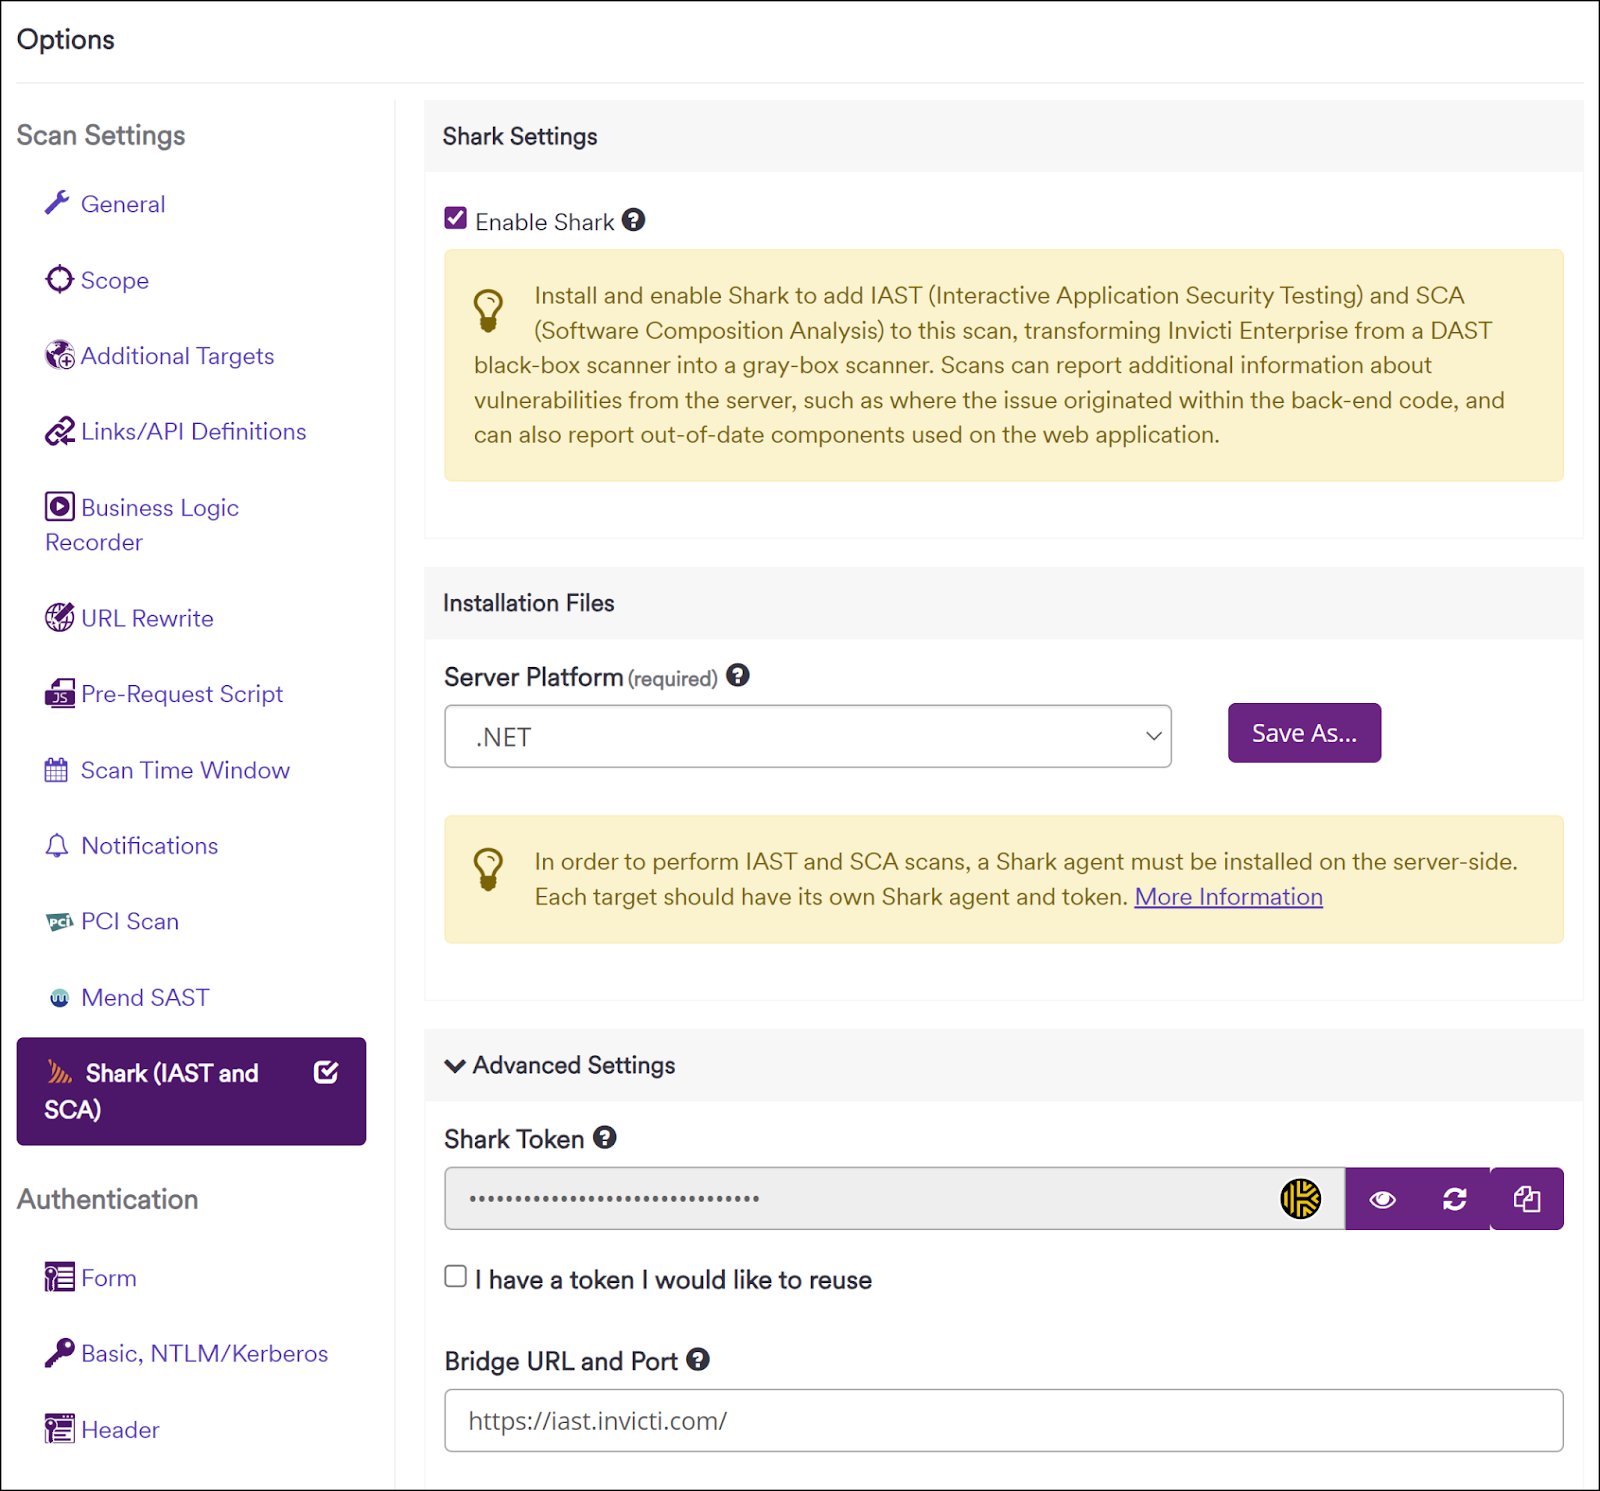
How to override the default IAST Bridge URL via the Shark Settings
- Log in to Invicti Enterprise On-Premises.
- Select Scans > New Scan from the left-side menu.
- Specify the Target URL.
- From the Scan Settings, select Shark (IAST and SCA).
- From the Shark Settings section, select Enable Shark.
- From the Server Platform drop-down, select Java, .NET, or Node.js.
- From the Advanced Settings drop-down, enter the URL and the port to the Bridge URL and Port field.