Update Invicti Enterprise On-Premises
Invicti Enterprise On-Premises runs on your servers and network. New versions require manual updates. To see what items are included in each of the updates, refer to our Release Notes.
This guide explains how to download and install the latest version.
Important update instructions for Invicti Enterprise On-Premises
To ensure a smooth update of Invicti Enterprise On-Premises:
- Pause any active scans before updating.
- Back up your database before starting (refer to Microsoft documentation for guidance).
- Restart the system if prompted during installation.
- Add Invicti files and folders to your antivirus/anti-malware exception list to prevent performance issues. For more information, refer to Excluding Invicti files from antivirus scans.
NOTE: The Authentication Verifier Service requires .NET 8.0. If it is not available on the target system, the installer will prompt you to install it. |

NOTE: In the SQL Database, you need the 'db_owner' role for installation and updates. For daily operations, the 'db_datareader' and 'db_datawriter' roles are sufficient. |
How to update Invicti Enterprise On-Premises
The update process involves several steps:
- Download the .zip file and extract the content
- Update the Invicti Enterprise web app and Authentication Verifier service
- Update the Invicti Enterprise agent
- Update the Authentication Verifier agent
- Update the IAST Bridge (optional)
- Update Invicti API Security (optional)
IMPORTANT: Invicti Enterprise must not be running during the installation process. |

Step 1: How to download the zip file
- When a new version of Invicti Enterprise On-Premises is available, a notification is displayed with the option to download the latest update. Select that linked text in the notification to download the zip file.

TIP: To manually check for updates, select Settings > Licensing from the left-side menu. Then, click Check for Updates. If an update is available, a notification will appear. |

- From the download location, extract the .zip file to a directory. Ensure the following files appear in the extracted folder:
- AgentSetup.exe (Invicti Enterprise Agent installer)
- ApiHubServiceSetup.exe (API Security installer)
- AuthVerifierAgentSetup.exe (Invicti Enterprise Authentication Verifier Agent installer)
- AuthVerifierServiceSetup.exe (Invicti Enterprise Authentication Verifier Service installer)
- IASTBridgeSetup.exe (Invicti IAST Bridge installer)
- WebAppSetup.exe (Invicti Enterprise Application Server installer)
Step 2: How to update the Invicti Enterprise web app and Authentication Verifier service
- Run the WebAppSetup.exe file. This will run the Web Application Setup and the Authentication Verifier Service Setup.
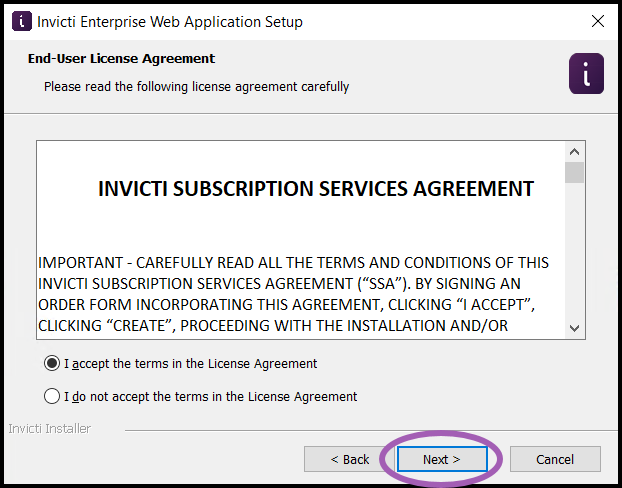
- Review the End-User License Agreement, and if you agree, select the ‘I accept the terms in the License Agreement’ checkbox. Selecting ‘I do not accept the terms in the Licence Agreement’ will cancel the installation. Click Next.
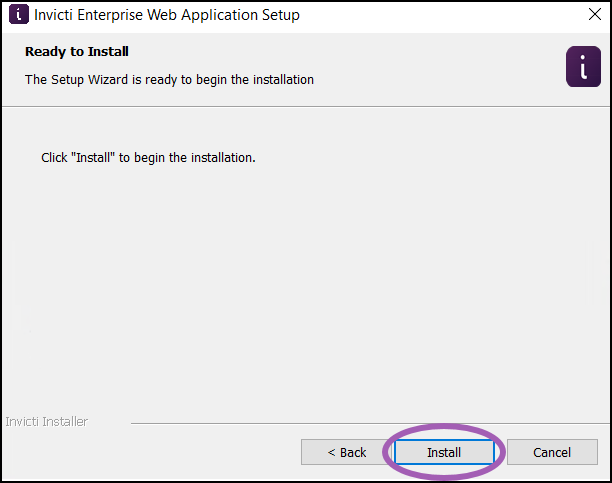
- On the Ready to Install window, click Install. Wait for the Installing Invicti Enterprise Web Application step to be displayed.
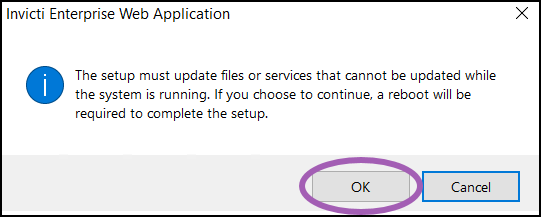
- If you receive this message, select OK to continue with the installation. The message appears several times. Clicking Cancel will cancel the entire installation.
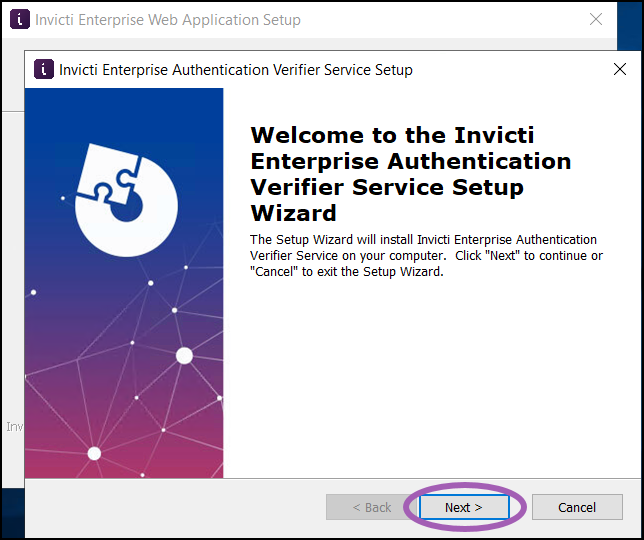
- The Authentication Verifier Service Setup Wizard is initiated. Click Next to continue.
- On the Ready to Install page, click Install to initiate the installation.

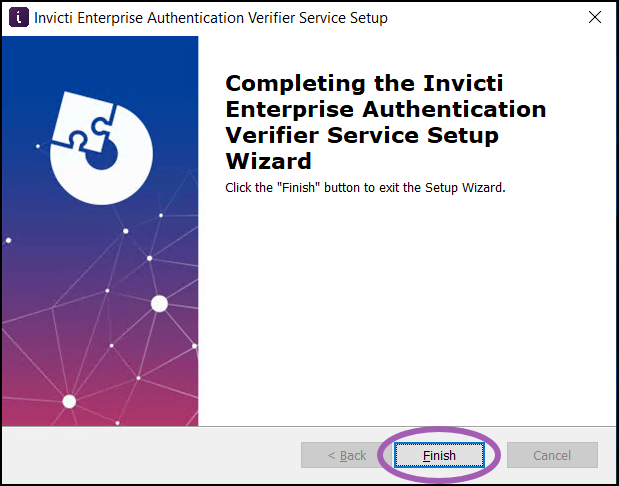
- Wait for the installation to complete, then click Finish on the Authentication Verifier Service Setup Wizard.
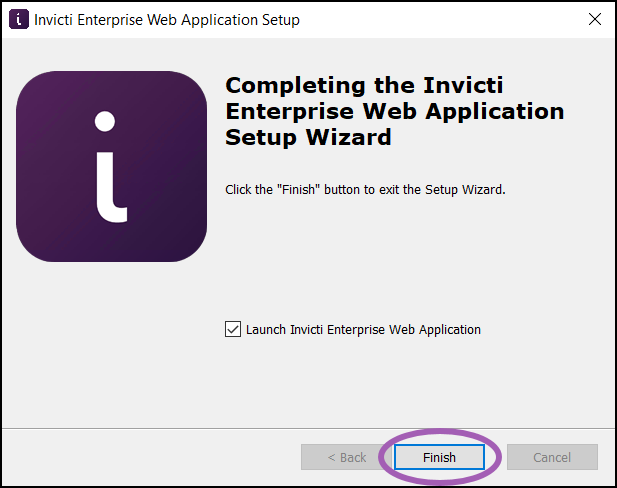
- You are now returned to the Invicti Enterprise Web Application Setup window. If desired, deselect the Launch Invicti Enterprise Web Application checkbox, then click Finish.
You need to restart the system now. After the restart, the web application is updated and ready to be used.
Step 3: How to update the Invicti Enterprise agent
There are two options for updating the Invicti Enterprise agent. Choose your preferred method:
- Run the AgentSetup.exe file from the extracted folder.
- Use the Update Agent command in the Invicti Enterprise user interface.
Option A: Update the agent using the AgentSetup.exe file
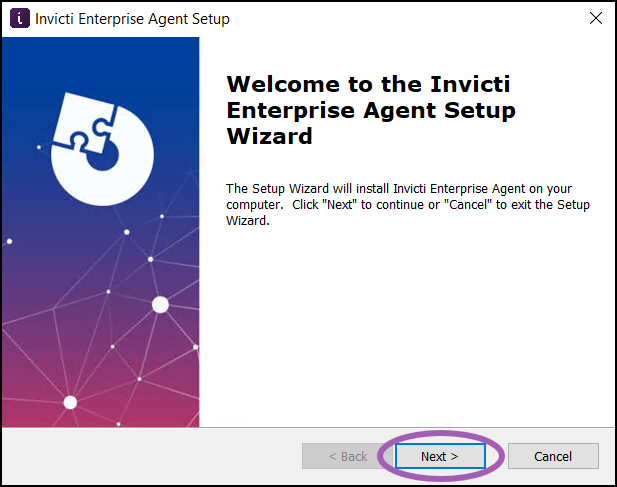
- Run the AgentSetup.exe file.
- Click Next to continue.
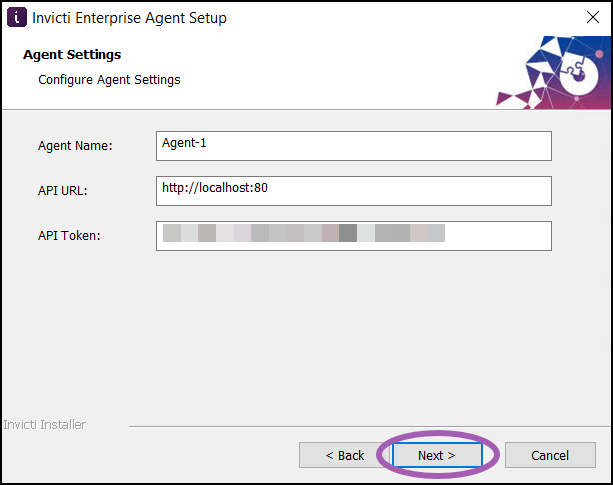
- Review the pre-populated information and click Next.
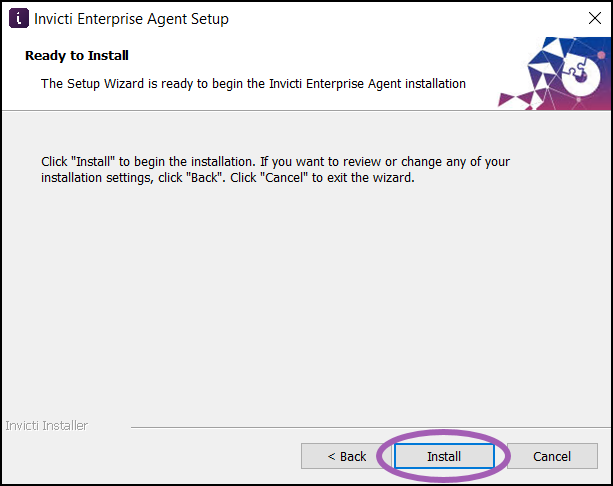
- Click Install to begin the installation.
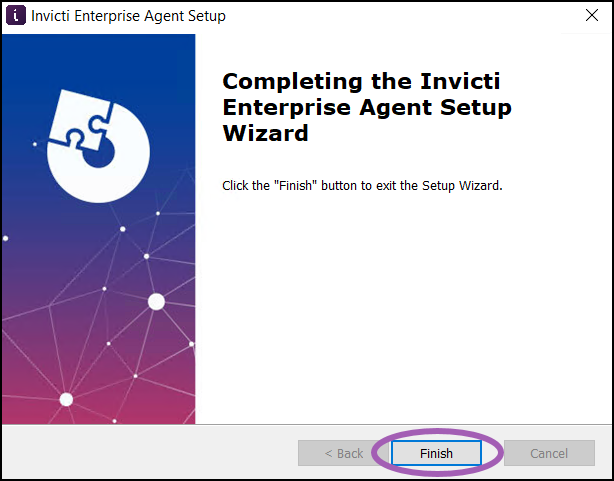
- Click Finish to complete the installation.
Option B: Update the agent using the Update Agent command
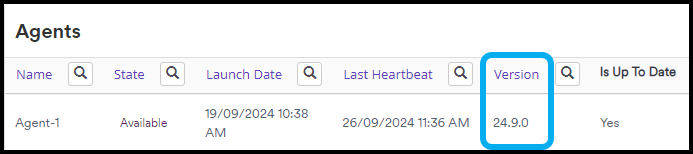
- Select Agents > Manage Agents from the left-side menu.
- Locate the agent and on the right, select Commands > Update Agent. The installation is completed as a background task. You will not be able to see the process.

- After a few minutes, manually refresh the Agents > Manage Agents page. The Agent Version number has been updated.
Step 4: How to update the Authentication Verifier agent
There are two options for updating the Authentication Verifier agent. Choose your preferred method:
- Run the AuthVerifierAgentSetup.exe file from the extracted folder.
- Use the Update Agent command in the Invicti Enterprise user interface.
NOTE: The agent can auto-update itself if you enable the Enable Auto Update option in the Commands drop-down. For more information, refer to Agents in Invicti Enterprise On-Premises. |

Option A: Update the agent using the AuthVerifierAgentSetup.exe file
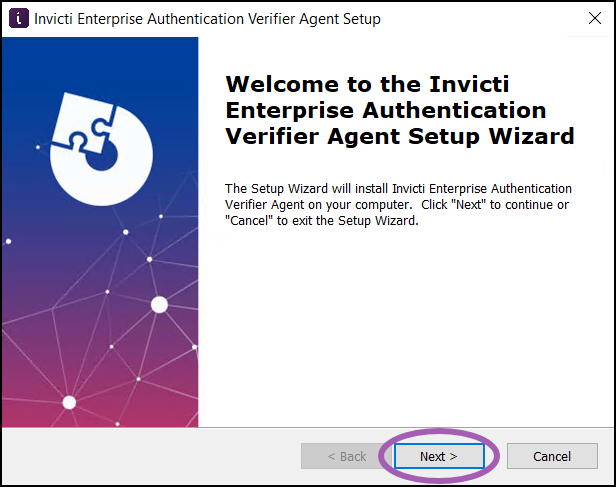
- Run the AuthVerifierAgentSetup.exe file.
- Click Next to continue.
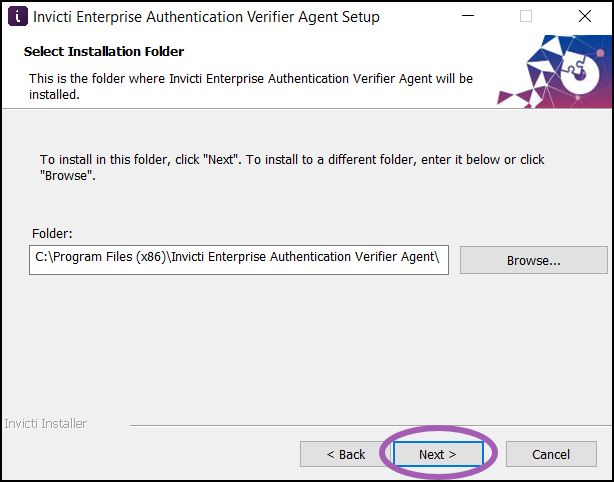
- Verify that the installation folder is correct. If you need to change it, click Browse and choose a different folder location. After that, click Next.
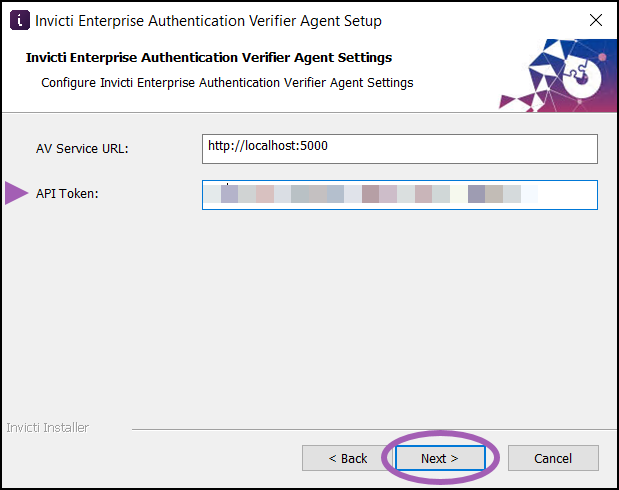
- Enter the API Token and click Next.
TIP: The API Token can be found using these steps:
|

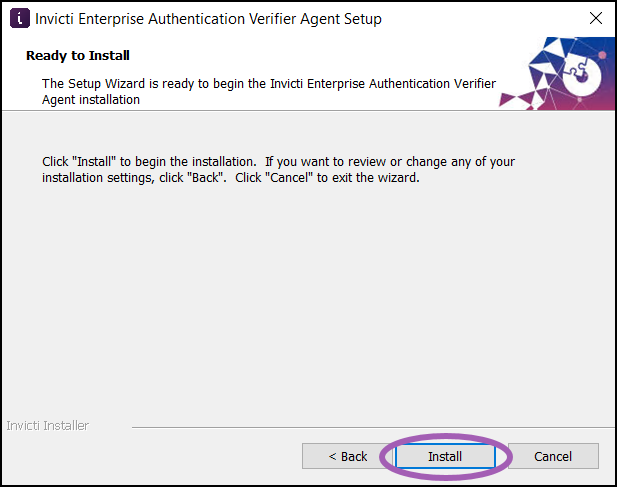
- Click Install to begin the installation of the authentication verifier agent.
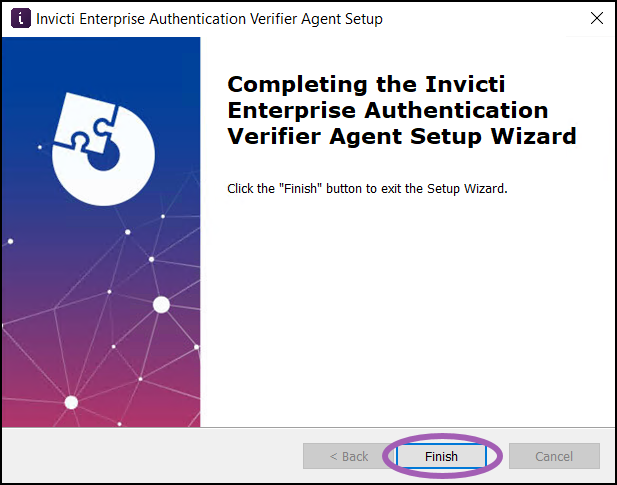
- Click Finish to complete the installation.
Option B: Update the agent using the Update Agent command
- Select Agents > Manage Verifiers from the left-side menu.
- Locate the verifier and on the right, select Commands > Update Agent. The installation is completed as a background task. You will not be able to see the process.
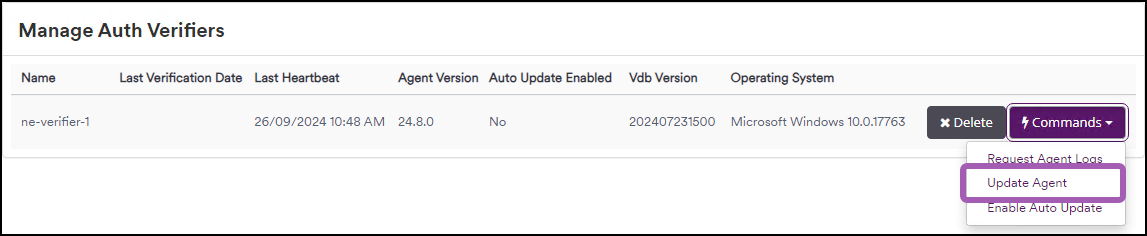
- After a few minutes, manually refresh the Agents > Manage Auth Verifiers page. The Agent Version number has been updated.

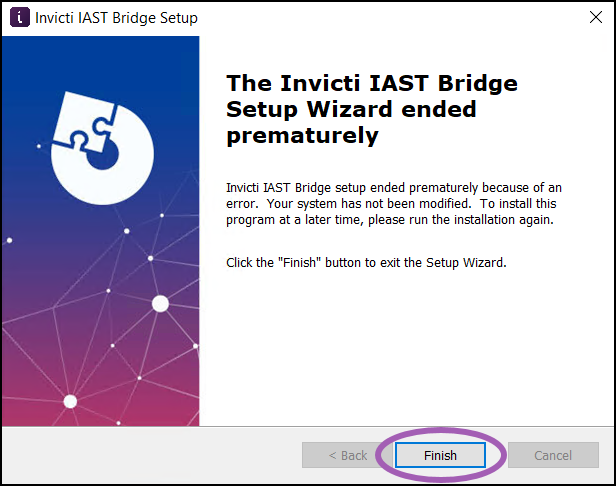
Step 5: How to update the IAST Bridge
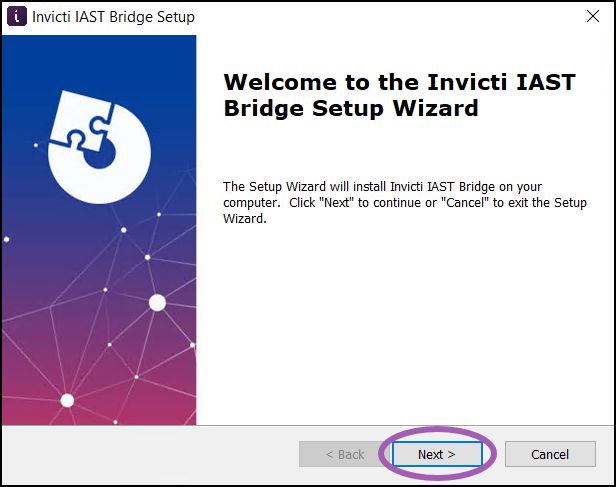
- Run the IASTBridgeSetup.exe file.
- Click Next to continue.
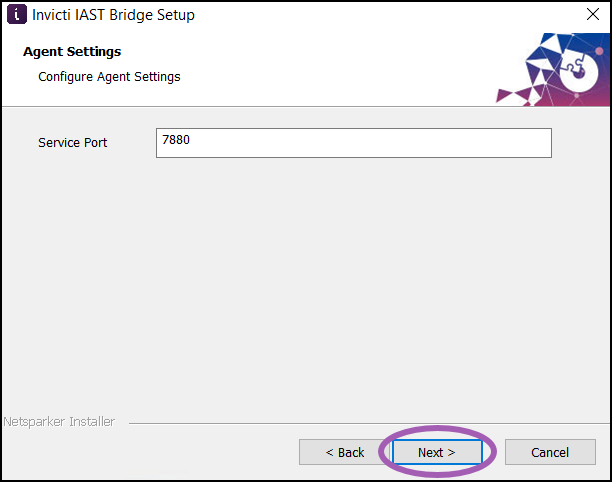
- Verify that the installation folder is correct. If you need to change it, click Browse and choose a different folder location. After that, click Next.

- Review the Service Port number and click Next.
- Click Install to begin the installation of the IAST Bridge.
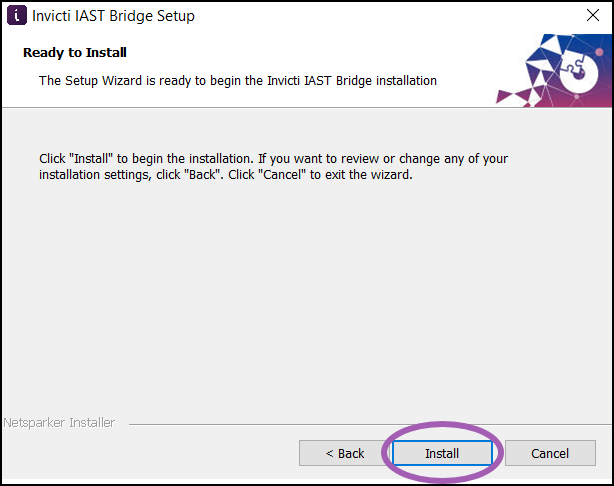
- Click Finish to complete the installation.
NOTE: If you also use Invicti API Security, you will need to perform an additional step to run the API Hub Service Setup file. For instructions, refer to Updating Invicti API Security On-Premises. |
