Integrating Invicti Enterprise with Redmine
Redmine is an issue tracking system that is part of a larger, flexible project management web application. It is free and open source, cross-platform and cross-database. Redmine is written using the Ruby on Rails framework.
This topic explains how to configure Invicti Enterprise to send a detected vulnerability to Redmine.
For further information, see What Systems Does Invicti Integrate With?.
Redmine Fields
This table lists and explains the Redmine fields in the New Redmine Integration window.
|
Button/Section/Field |
Description |
|
Name |
This is the name of the configuration that will be shown elsewhere. |
|
Mandatory |
This section contains fields that must be completed. |
|
URL |
This is the Redmine instance URL. |
|
Api Access Key |
This is the API Access Key for authentication. |
|
Project |
This is the project identifier in which to create an issue. |
|
Priority Id |
This is the priority identifier. |
|
Title Format |
This is the string format that is used to create the vulnerability title. |
|
Optional |
This section contains optional fields. |
|
Tracker Id |
This is the tracker identifier. |
|
Status Id |
This is the status identifier. |
|
Category Id |
This is the category identifier. |
|
Assignee Id |
This is the assignee identifier. |
|
Due Days |
This is the number of days between the date the issue was created to the date it’s due. |
|
Is Private |
This indicates whether the issue is accessible only to the assignee. |
|
Custom Fields |
This section contains user-defined custom fields. |
|
New Custom Field |
Select to create a new custom field. |
|
Name |
Enter a name for the new custom field. |
|
Value |
Enter a value for the new custom field. |
|
Dropdown |
Select the drop-down to change the input type. The options are:
|
|
Create Sample Issue |
Once all relevant fields have been configured, select to create a sample issue. |
How to Integrate Invicti Enterprise with Redmine
- Log in to Invicti Enterprise.
- From the main menu, select Integrations > New Integration.
- From the Issue Tracking Systems section, select Redmine.
- In the Name field, enter a name for the integration.
- In the Mandatory section, complete the connection details:
- Name (The name must be unique)
- URL (Redmine Server)
- Api Access Key
- Project
- Priority Id
- Title Format
- Open Redmine.
- From the main menu, select Projects, then select the relevant project from the list.
- Select Settings, then Information. The Information tab is displayed, showing the Identifier.
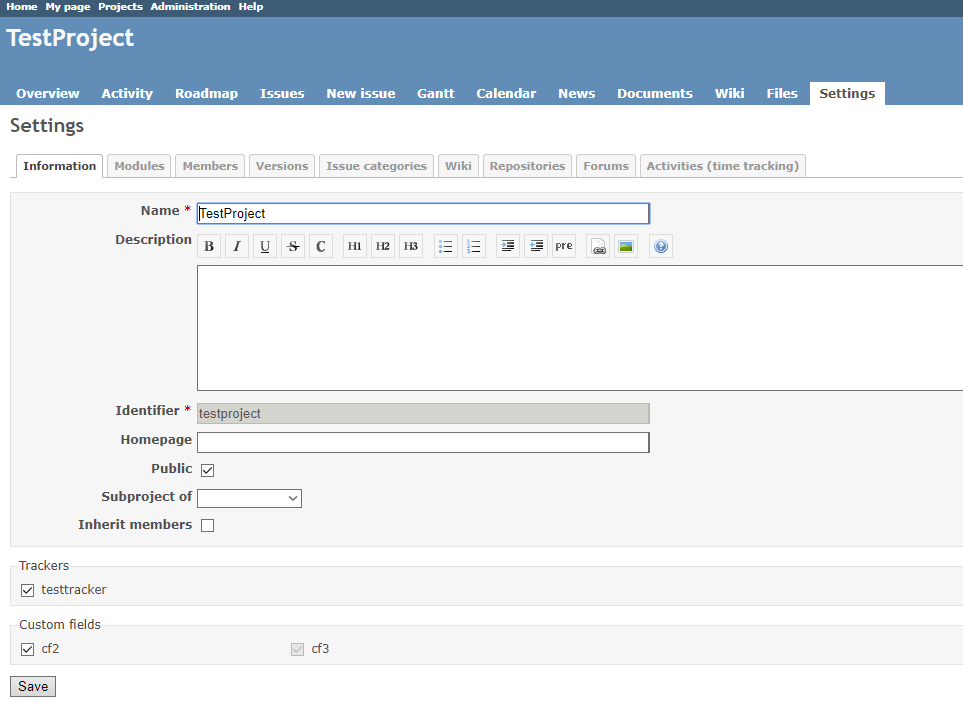
- Copy the Identifier value from Redmine and paste it into Project field in Invicti Enterprise.
- In Redmine, select Administration, then Enumerations. The Enumerations window is displayed.

- Select the priority name to find the Identifier value displayed in the URL in the browser bar. Then copy the value and paste into the Priority field in Invicti Enterprise.
- Copy the Priority value from Redmine and paste it into the Priority field Invicti Enterprise.
- In Redmine, select Administration. The Administration window is displayed.
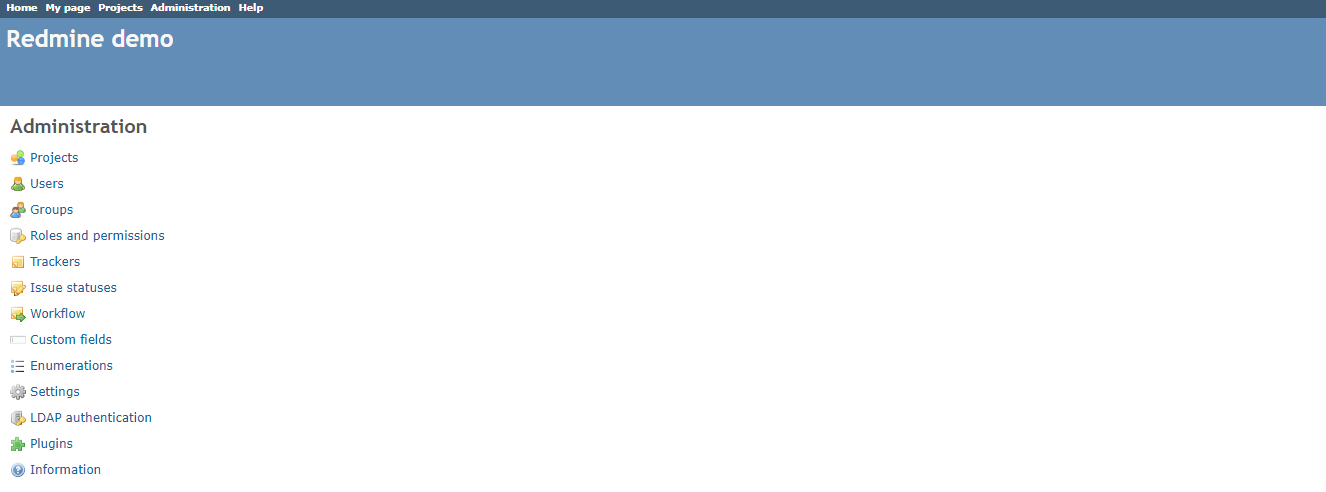
- Copy the values from the Tracker ID and Status ID fields.
- In Invicti Enterprise, in the Optional section, paste the values into the Tracker ID and Status ID fields.
- In Redmine, select Settings, then Edit for a category. The Category identifier is displayed as the URL in the browser’s address bar. (The Category ID is the URL.)
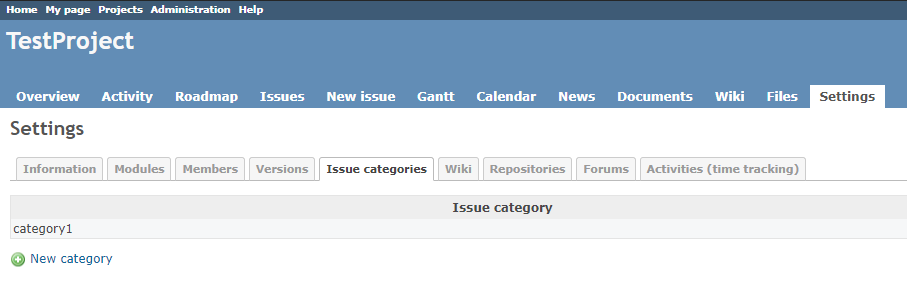
- Copy the Category ID value.
- In Invicti Enterprise, in the Optional section, paste the value into the Category ID field.
- Complete the Assignee ID, Due Days and Is Private fields.
- If required, select New Custom Field. Two fields are displayed: Name and Value.
- In the Name field, enter a name for the value containing the custom field identifier.
- In the Value field, enter a value for the new custom field identifier.
- Select Create Sample Issue to confirm that Invicti Enterprise can connect to the configured system and create a sample issue. A confirmation message is displayed to confirm that the sample issue has been successfully created.
- In the confirmation message, select the Issue number link to open the issue in your default browser.
- If Redmine integration is not configured correctly, Invicti Enterprise will correctly route the following descriptive error messages to you. Sample error messages may be displayed as illustrated:
- If the UTL or API Access Key was entered incorrectly

- If the Priority was entered incorrectly

- Select Save to save the integration.
How to Export Reported Vulnerabilities to Projects in Redmine
There are several ways to send issues to Redmine with Invicti Enterprise:
- Once notifications have been configured, you can configure Invicti Enterprise to automatically send vulnerabilities after scanning has been completed (see How to Configure a Notification to Report Vulnerabilities to an Issue Tracking System).
- You can send one or more issues from the Issues window:
- You must have Manage Issue permission.
- From the main menu, select Issues, then All Issues.
- From the Issues page, select one or more issues you want to send.
- Select Send To > Redmine.
A pop-up is displayed, with a link to the issue you have sent to Redmine. If there is an error, this information will be displayed instead.
- You can send an issue from the Recent Scans window:
- From the main menu, select Scans > Recent Scans.

- Next to the relevant scan, select Report.
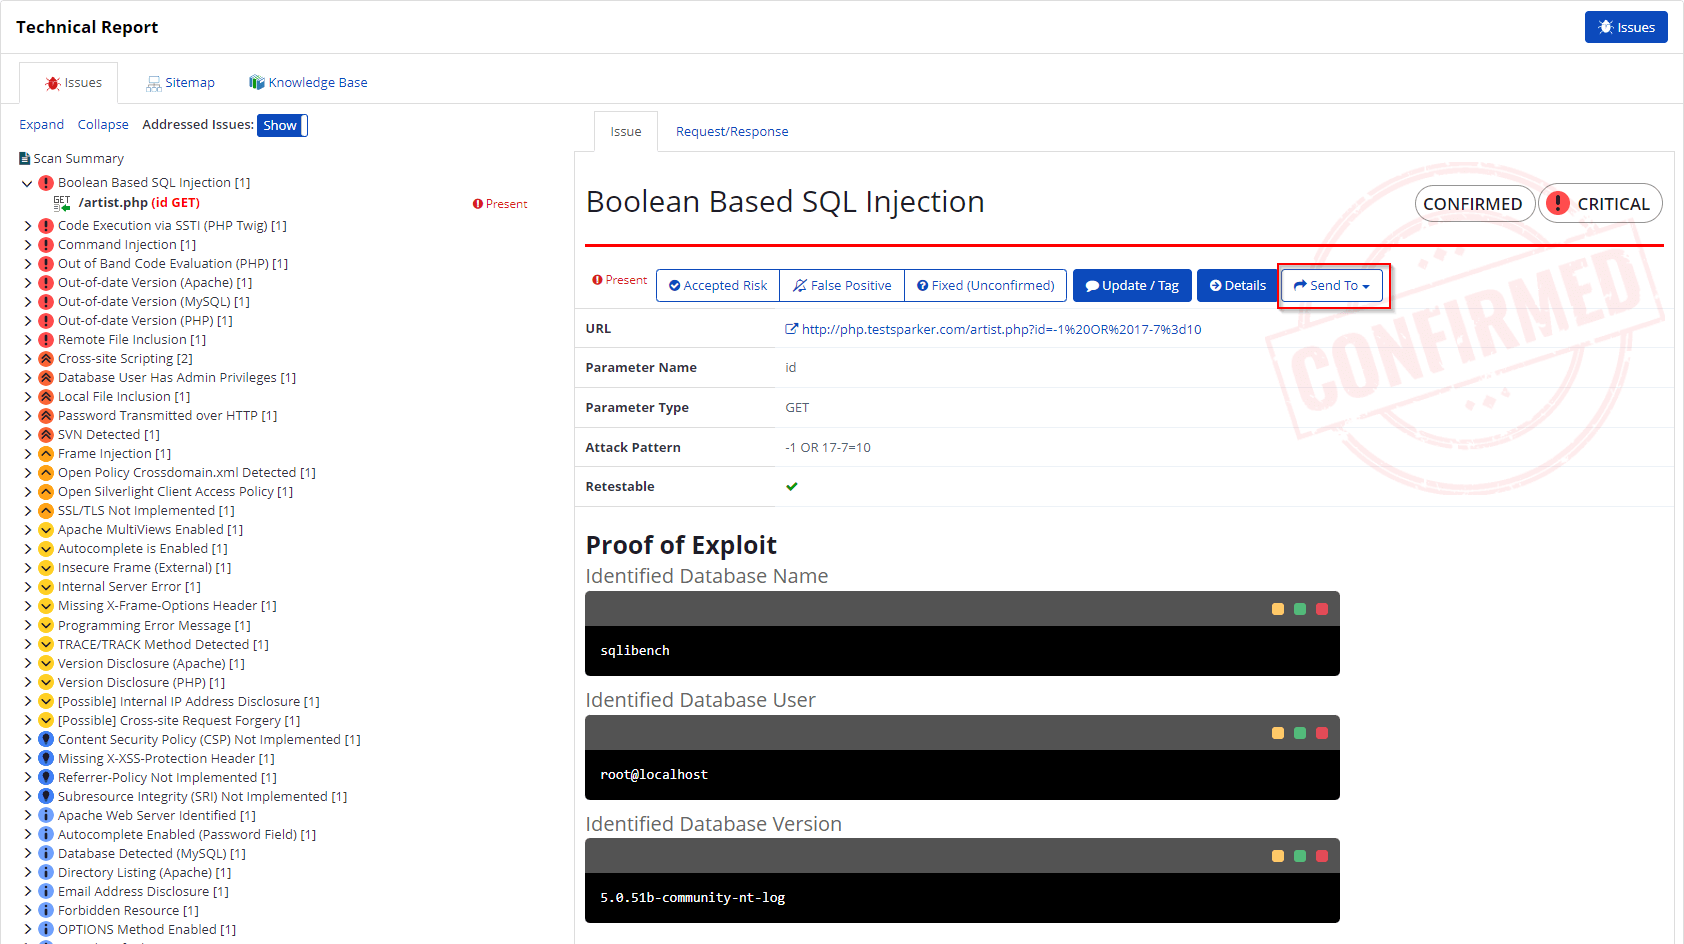
- Scroll down to the Technical Report section.
- From the list of detected vulnerabilities, select an issue and display its details.
- Select Send To > Redmine.
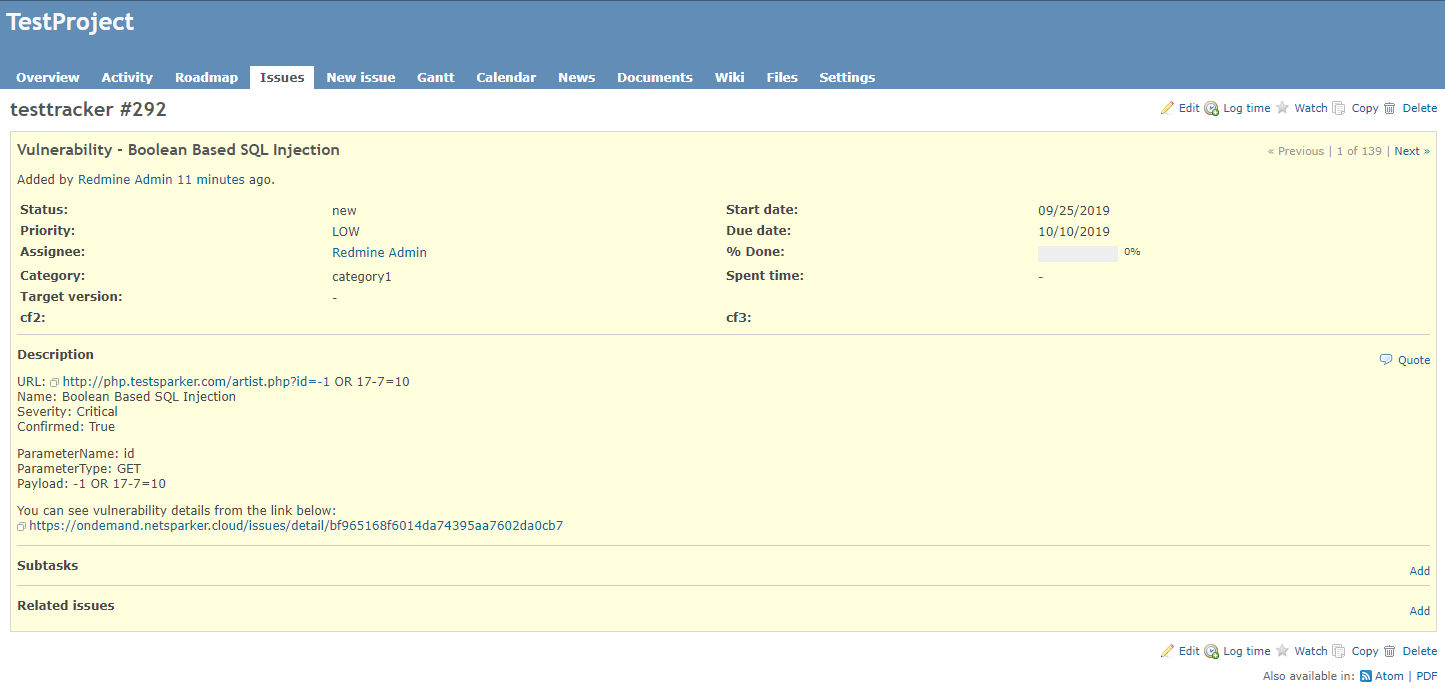
If you have previously submitted this vulnerability to Redmine, it will already be accessible. You cannot submit the same issue twice.
- If you view opened problem logs in Redmine, they look like this.