Authentication Verifier Settings
You can install the authentication verifier service and agents to ensure that authenticated scans are performed within your local environment. If the website being scanned requires form-based authentication, it is recommended to install an authentication verifier agent. This agent validates the authentication, ensuring that your scans are properly authenticated across the network.
The Authentication Verifier Settings are available exclusively in the Invicti Enterprise On-Premises edition.
NOTE: Starting from the Invicti Enterprise On-Premises 2.3, the Authentication Verifier Agent communicates with the Authentication Verifier Service to verify the login. You can install the Authentication Verifier Agent without installing the verifier service. However, the Authentication Verifier agent works properly only if you install the Authentication Verifier Service first. |

This document explains how to install the Authentication Verifier Service and the Authentication Verifier Agent.
How to view the Authentication Verifier
- Select Settings > Authentication Verifier from the left-side menu.
- These are the fields on the page:
- Authentication Verifier Service URL: This is the URL where the service is running, and it must end with /authverificationhub. For example: https://onprem.netsparker.com:5000/authverificationhub
IMPORTANT: To access the verifier service, you need to bind the Invicti AV Service to either the domain name or the IP address. |

- Service Token: This is the token that enables the communication between the Authentication Verifier Service and the Invicti Enterprise Web Application.
- Access Token: This is the token that enables the communication between the Authentication Verifier and the Authentication Verifier Service.

How to install the Authentication Verifier Service
- Run the AuthVerifierServiceSetup.exe that comes with the .zip file for the update.
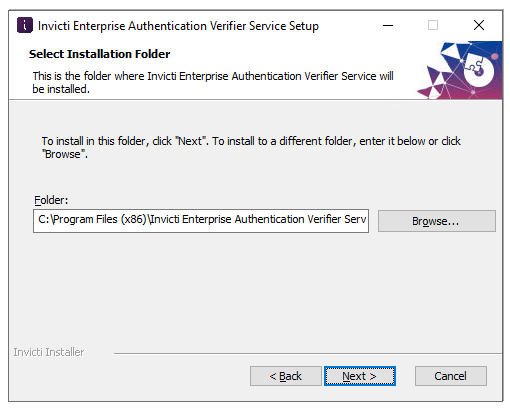
- On the Select Installation Folder step, select Next to install the Authentication Verifier Service to the default folder. Alternatively, select Browse… to select a different installation folder, then click Next.
- On the Ready to Install step, select Install.
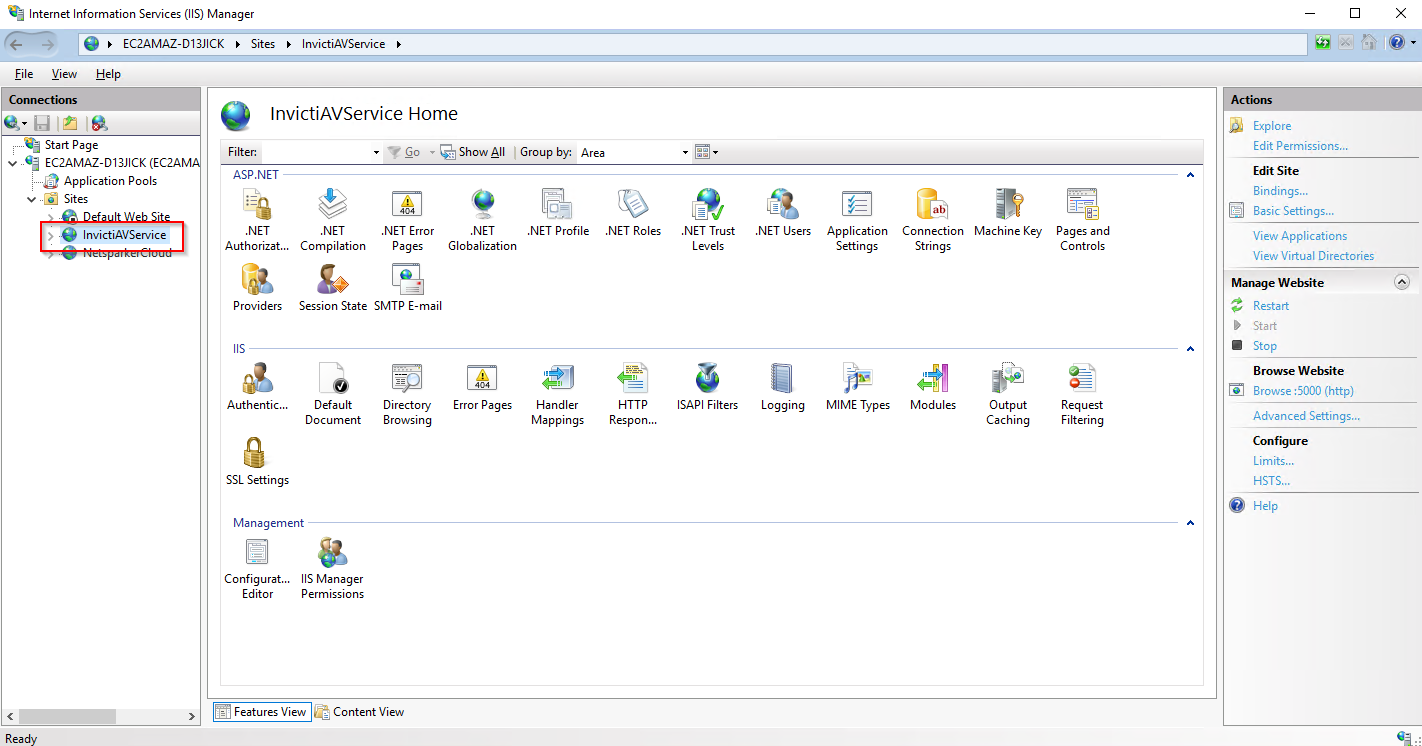
This installs the Authentication Verifier Service and creates InvictiAVService in the Internet Information System (IIS).
After the installation, you need to configure the communication between the Authentication Verifier Service and the Invicti Enterprise Web Application.
How to configure the Authentication Verifier Service
- Select Settings > Authentication Verifier from the left-side menu.
- Copy the Service Token value using the purple copy button.

- Navigate to the Authentication Verifier Service folder. By default, it is under C:\Program Files (x86)\.
- Open the appsettings.json file.
- Paste the Service Token value into the RootApiToken value.
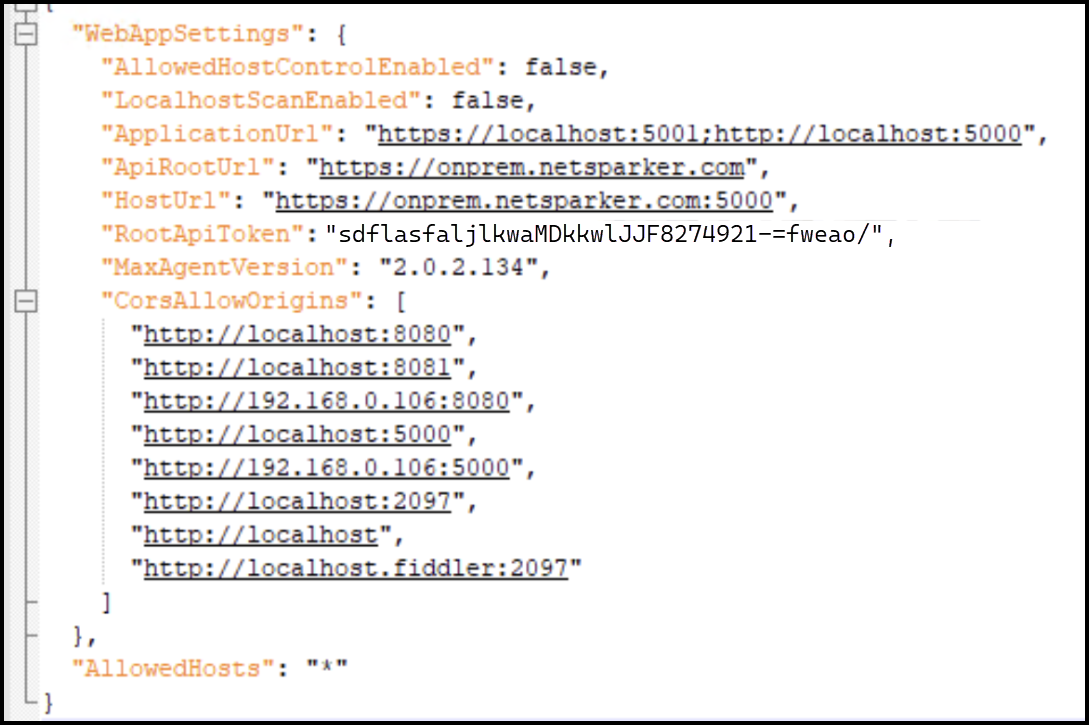
- Save this and close the file.
- Open the IIS Manager and restart the InvictiAVService listed under the Sites.
IMPORTANT: Any changes in the appsetting.json file, such as changing the token, require restarting the Authentication Verifier Service so that the changes can take effect. To restart, open the IIS Manager and restart the InvictiAVService, listed under the Sites. |
These said steps let you run the Authentication Verifier Service and establish the communication between the Authentication Verifier Service and the Invicti Enterprise Web Application.
The following instructions let you install an authentication verifier agent to verify the form authentication on the New Scan page.
How to install the Authentication Verifier
The Invicti Enterprise Authentication Verifier is installed using a wizard.
IMPORTANT: Starting from the Invicti Enterprise On-Premises 2.3, the Authentication Verifier Agent communicates with the Authentication Verifier Service to verify the login. In order to continue using the Authentication Verifier Agent, you must uninstall the older versions. |
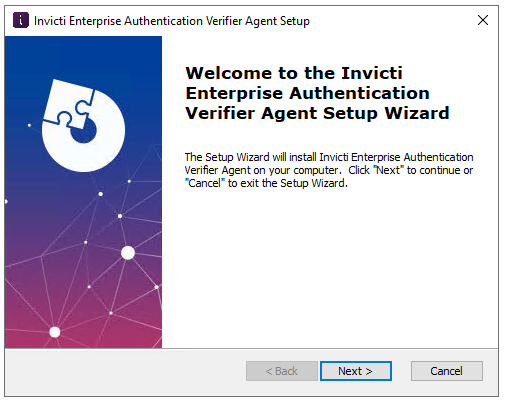
- Run the AuthVerifierSetup.exe file.
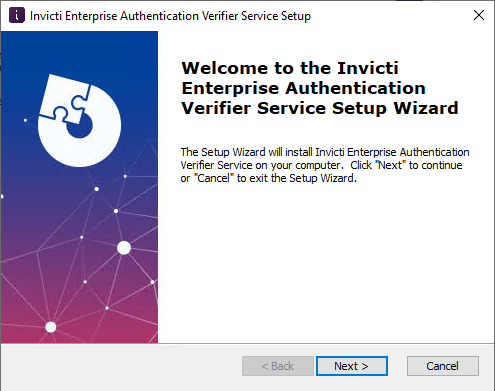
- On the Welcome to the Invicti Enterprise Authentication Verifier Setup Wizard window, select Next.
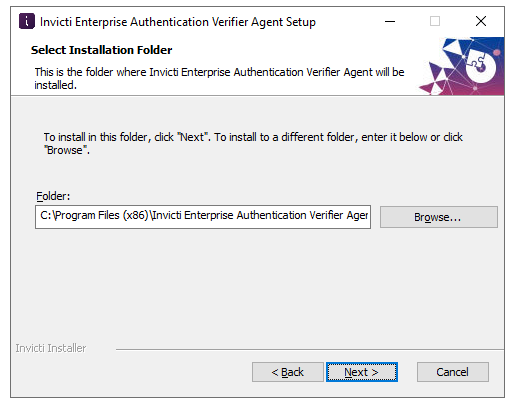
- Select Browse… to install the Authentication Verifier to a different folder than the default folder, then select Next.
- On the Invicti Enterprise Authentication Verifier Agent Settings step, enter the AV Service URL and API Token and then select Next.
- AV Service URL: this is already completed (For example, https://onprem.netsparker.com:5000).
- API Token: enter your access token. (You can find your access token on the Authentication Verifier page under the Settings.)
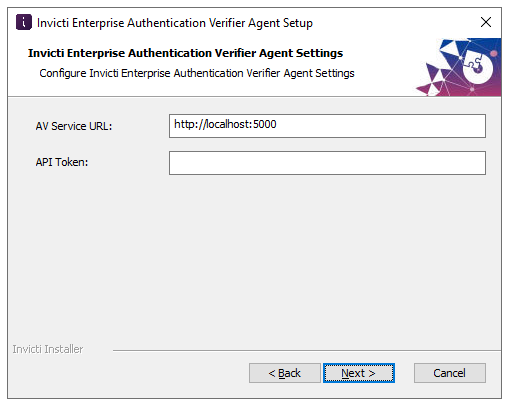
- Select Install on the next window..
After the installation, navigate to the Authentication Verifier Agent folder which is, by default, under C:\Program Files (x86)\. Open the appsetting.json file. For example, it should look like the following:
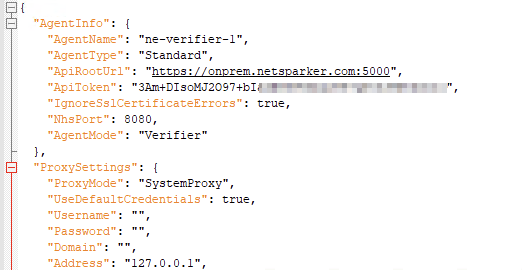
NOTE: If you configured the agent mode as Cloud on the Website page, enter Cloud to the Agent Type value on the appsetting.json file. Agent Type as Standard is for when the agent mode is set to Internal on the target settings page. |
To manage your authentication verifier agents, log in to Invicti Enterprise. From the main menu, select Agents > Manage Verifiers. For further information, see Managing Authentication Verifier Agents in Invicti Enterprise.
How to install multiple authentication verifier agents on the same operating system
If you want to install more than one authentication verifier agent on the same system, first install Invicti Enterprise Authentication Verifier Agent, as usual, using the AuthVerifierSetup.exe file.
- Copy all files from the default Authentication Verifier Agent’s folder to the new Verifier Agent’s folder. The default installation path is: C:\Program Files (x86)\Invicti Enterprise Authentication Verifier Agent.
For example, if you decided to use Agent-2 as the new Agent name, you could use this command to copy all files to the new Agent’s folder:
xcopy "C:\Program Files (x86)\Invicti Enterprise Authentication Verifier Agent\*.*" "C:\Program Files (x86)\Invicti Enterprise Authentication Verifier Agent-2" /yie
This will create a new directory in C:\Program Files (x86)\Invicti Enterprise Authentication Verifier Agent-2 and copy in all the required files.
- Locate the new Verifier Agent’s folder and open the appsettings.json file with a text editor. Set the new Agent’s name.
- Open a command prompt in Windows with Administrator rights and install the new Verifier Agent as a Windows Service using these commands:
- This command changes the current folder to the new Agent’s folder:
cd C:\Program Files (x86)\Invicti Enterprise Authentication Verifier Agent-2
- This command installs the new Verifier Agent as a Windows Service:
Netsparker.Cloud.Agent.exe /i
- This command starts the new Agent’s Windows Service:
Netsparker.Cloud.Agent.exe /s
NOTE: If your machine has more than one authentication verifier agent installed, Invicti shows a drop-down menu to select the one you want to use. |