Integrating Invicti Enterprise with FogBugz
FogBugz is an issue tracking and project management system that helps you plan, track tasks and processes by gathering all features, issues and customer requests in a central location.
This document explains how to integrate Invicti Enterprise with FogBugz.
Integrate with FogBugz
Invicti Enterprise has out-of-the-box support for automatically creating, resolving, and reactivating FogBugz cases according to the scan results. For this purpose, Invicti Enterprise uses FogBugz's default Resolved and Reactivated statuses. For more information on integrations with issue trackers, refer to the Integrating Invicti Enterprise with an issue tracking system document.
There are two steps to integrate Invicti Enterprise with FogBugz:
- Step 1: Integrate Invicti Enterprise and FogBugz
- Step 2: Register webhook for bi-directional integration (optional)
Step 1: Integrate Invicti Enterprise with FogBugz
- Select Integrations > New Integration from the left-side menu.
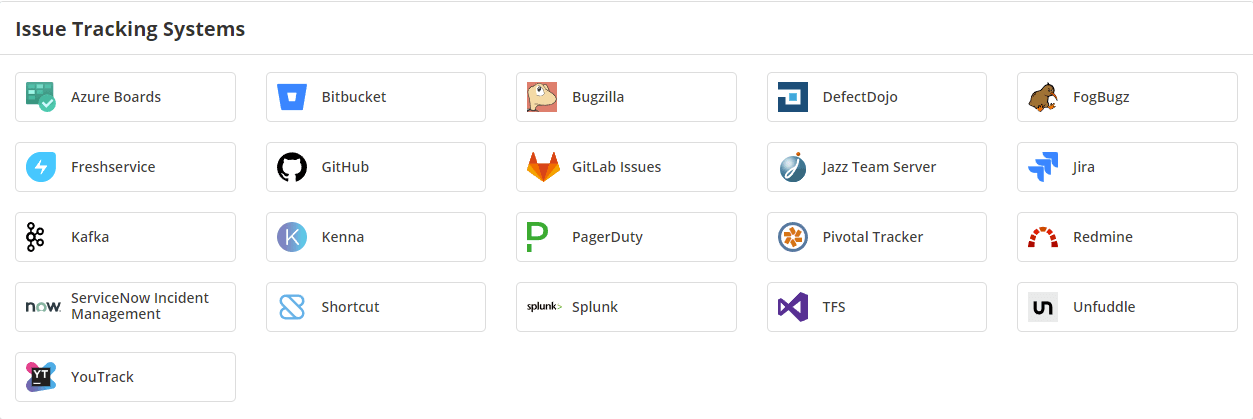
- From the Issue Tracking Systems section, select FogBugz.
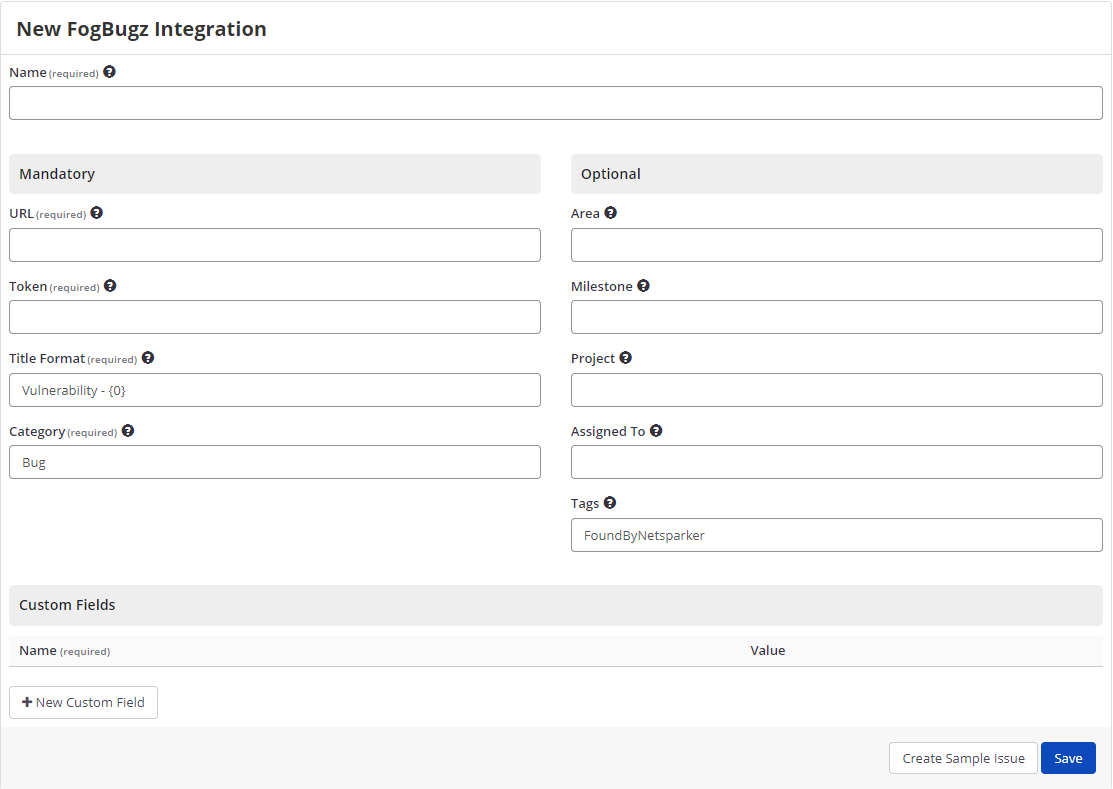
- In the Name field, enter a name for the integration that will be shown elsewhere.
- In the Mandatory section, complete the connection details:
- URL: the FogBugz instance URL
- Token: API token for the user
- Title Format: the string format that is used to create the vulnerability title
- Category: the category in which to assign cases
- In the Optional section, you can specify:
- Area: the area in which to assign cases
- Milestone: the valid target milestone for the product
- Project: the project identifier in which to create an issue
- Assigned To: the user to whom the issue is assigned
- Tags: the work item tags, separated by a semicolon (;)
- In the Custom Fields section:
- New Custom Field: creates a new custom field
- Name: enter a name for the new custom field
- Value: enter a value for the new custom field
- Dropdown: click the dropdown to change the input type. The options are: text, password, textarea, file upload, complex.
- Click Create Sample Issue to confirm that Invicti Enterprise can connect to the configured system. A message is displayed to confirm that the sample issue has been successfully created. Click the Issue number link to open it.
- Click Save to finish the integration.
Step 2: Register webhook for bi-directional integration (optional)
Invicti Enterprise supports webhooks for enhanced issue synchronization, allowing you to detect status changes in FogBugz issues.
- Resolved in FogBugz → Fixed (Unconfirmed) in Invicti Enterprise, triggering a retest scan.
- Reopen in FogBugz → Revived in Invicti Enterprise automatically.
To register a webhook follow these steps:
- Select Integrations > Manage Integrations in the left-side menu.
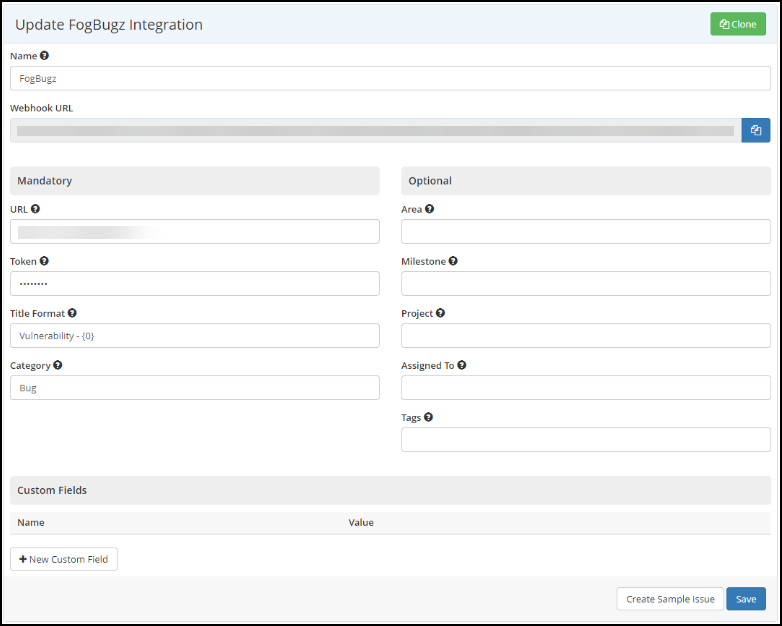
- Next to the relevant FogBugz integration, select Edit. The Update FogBugz Integration window is displayed.
- In the Webhook URL field, click Copy to clipboard icon.
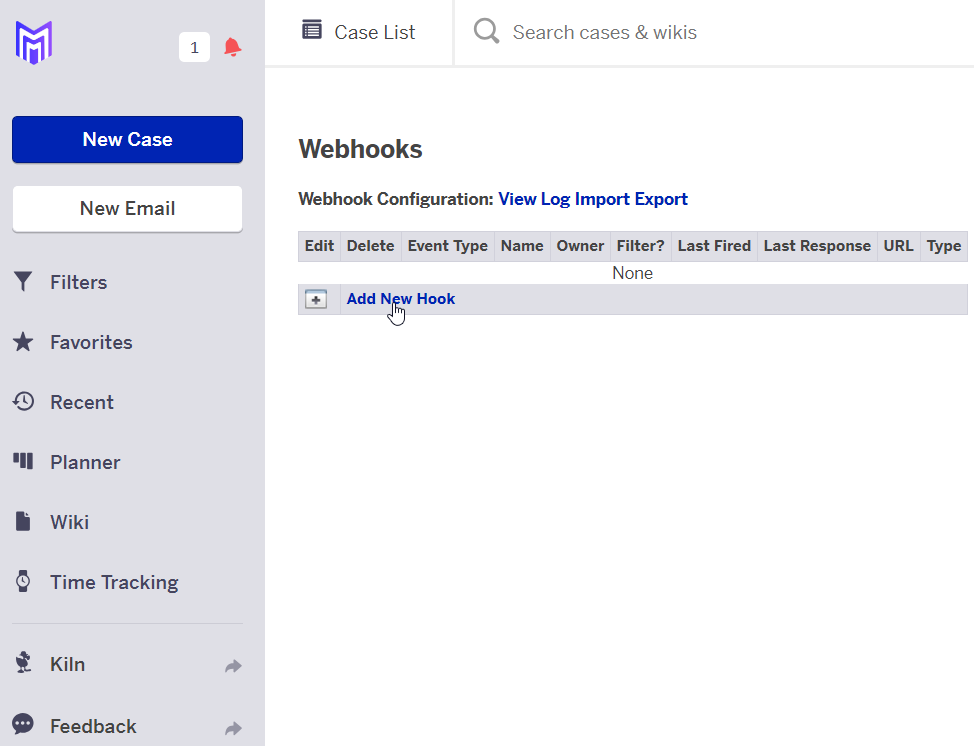
- In FogBugz, in the Webhooks window, click Add New Hook.
- Paste in the Webhook URL.
- Add a filter, select the CaseResolved, CaseClosed, CaseReactivated, and CaseReopened event types.
- From the Hook Type dropdown, select POST.
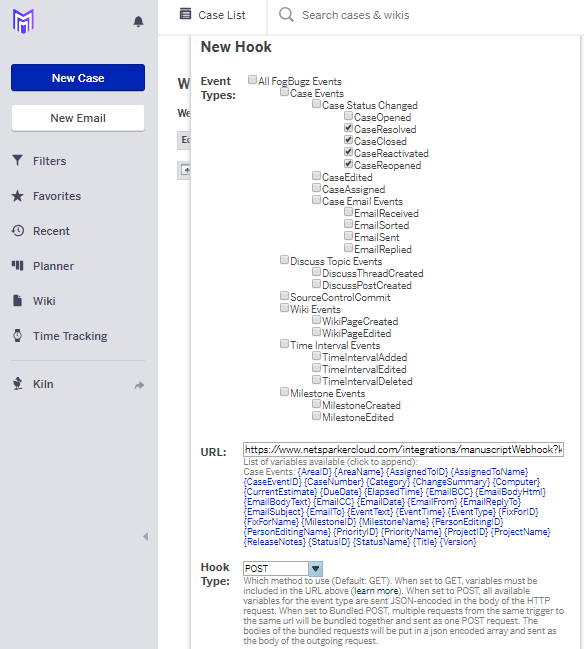
- Click OK.
- Click Save to close the integration.
Manage the FogBugz integration
How to edit it
- Select Integrations > Manage Integration from the left-side menu.
- Next to the FogBugz, select Edit to input changes.
- Click Save.
How to delete it
- Select Integrations > Manage Integration from the left-side menu.
- Next to the FogBugz, select Delete.
- On the confirmation dialog, click Delete.
Export issues to FogBugz
There are several ways to send issues to FogBugz with Invicti Enterprise:
Automatic issue submission
Once the integration is configured, Invicti Enterprise can automatically send issues to FogBugz after a scan is completed. For more information, refer to How to Configure a Notification to Report Vulnerabilities to an Issue Tracking System document.
Send issues from the Issues page
- From the main menu, select Issues > All Issues.
- Select one or more issues you want to send.
- Click Send To > FogBugz.
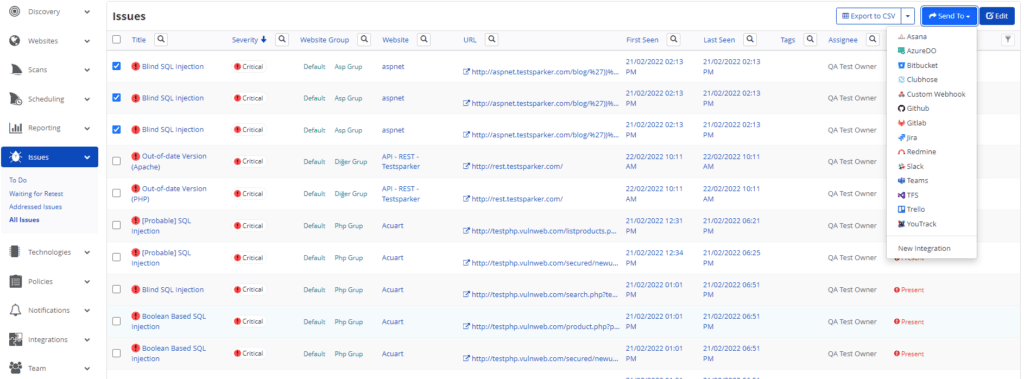
- A popup is displayed, with a link to the issue you have sent to FogBugz.
Send issues from the Recent scans page
- From the main menu, select Scans > Recent scans.
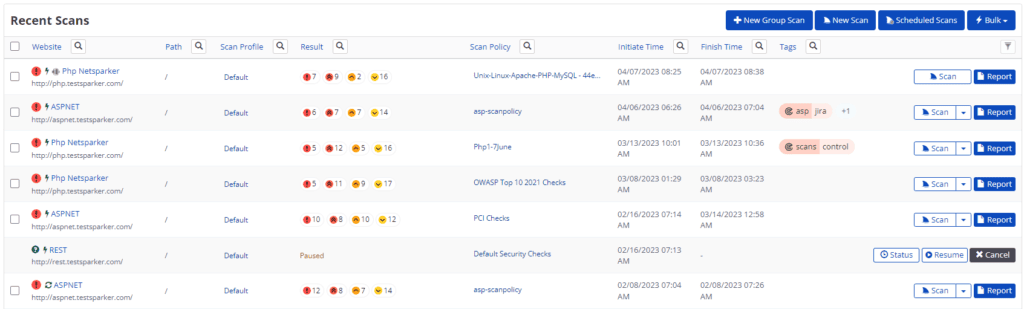
- Next to the relevant scan, select Report.
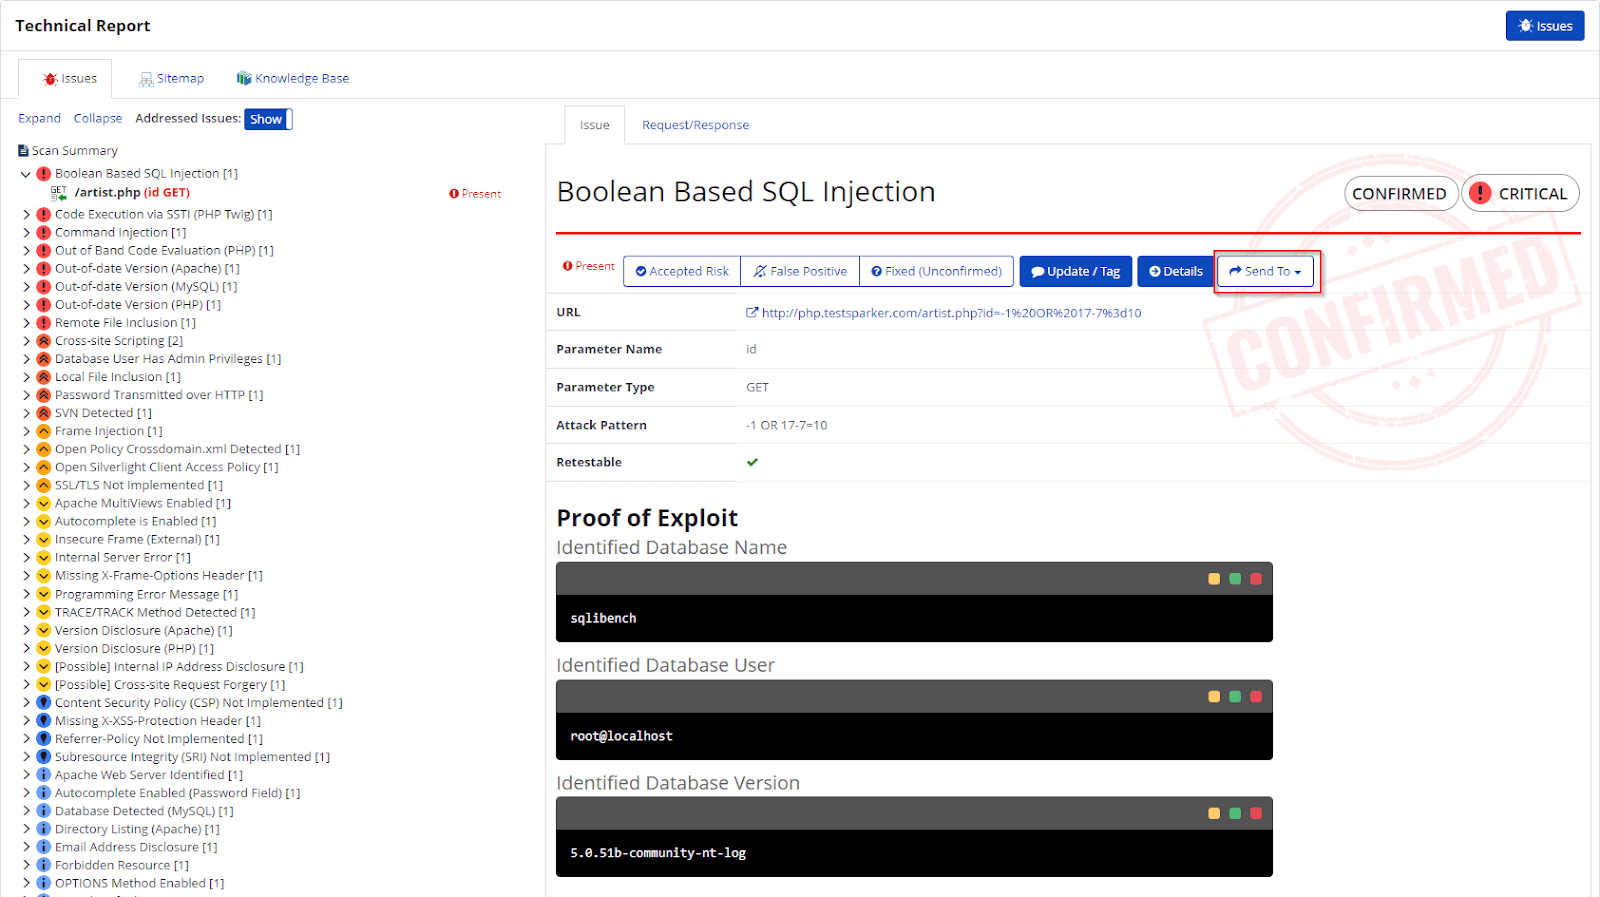
- Scroll down to the Technical Report section. From the list of detected vulnerabilities, select an issue and display its details.
- Select Send To > FogBugz.
TIP: If you have previously submitted this vulnerability to FogBugz, it will already be accessible. You cannot submit the same issue twice. |

Prevent reopening issues in FogBugz
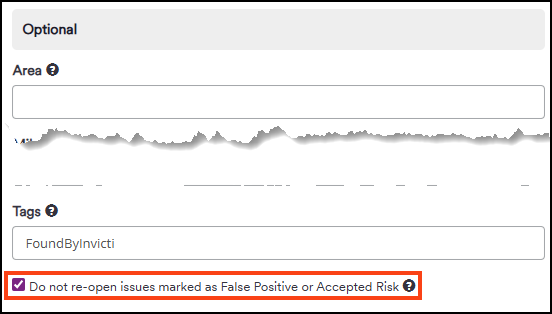
When the option “Do not re-open issues marked as False Positive or Accepted Risk” is enabled and the vulnerabilities previously marked as False Positive or Accepted Risk are revived during scans, the system doesn’t reopen the issue in FogBugz. This option is disabled by default.
How to enable the option
- Select Integrations > Manage Integrations from the left-side menu.
- Click Edit next to your FogBugz integration.
- In the Optional section, under Tags enable the Do not re-open issues marked as False Positive or Accepted Risk checkbox.
- Click Save to close the settings.
NOTE: When reviewing the history of detected issues, a message will appear if the option is enabled: “The issue will not be reopened in the Issue Tracking System because it has been marked as either a False Positive or an Accepted Risk.” |
