Verify target ownership
This document is for:
Invicti Enterprise On-Demand
When you add a new target to Invicti Enterprise, you need to verify its ownership. This verification is critical because you must not scan a website without proper authorization from the owner. This document explains how to verify ownership of a target in Invicti Enterprise.
IMPORTANT: Scanning a website without authorization is against the law. Invicti is not responsible for such actions and cannot be held responsible for potential damage to the target website. |

How to verify target ownership
To verify your ownership of a target website, you can use any of the following methods:
Verification by HTML File Upload
- Log in to Invicti Enterprise.
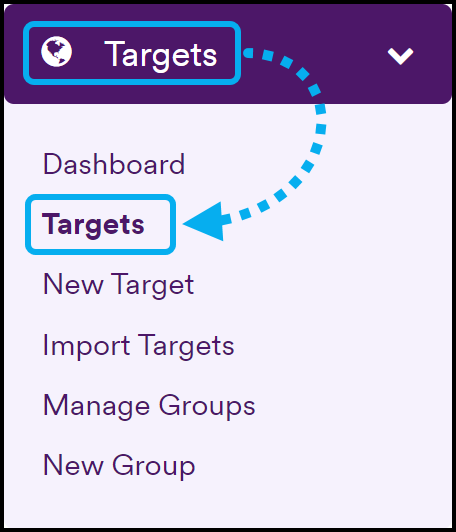
- Select Targets > Targets from the left-side menu.
- Click Edit next to the relevant target.

- Click Verify. The Verify Ownership window is displayed.
- By default, the File Upload method is displayed.

- Click Download your verification file. The Save dialog is displayed. Select a Save location, then upload it to the root folder of your website.
- Click Verify that it is correctly set up to see if the file has been uploaded correctly.
- Click Verify.
- The URL field in the Edit Website window displays a green Verified button, and you are authorized to scan that website.
Verification by Meta Tag
- Log in to Acunetix 360.
- Select Targets > Targets from the left-side menu.
- Click Edit next to the relevant target.
- Click Verify. The Verify Ownership window is displayed.
- Select the Alternate Methods tab.
- Select HTML tag.
- Copy the meta tag text from the field and paste it into the <head> tags in the website's home page.
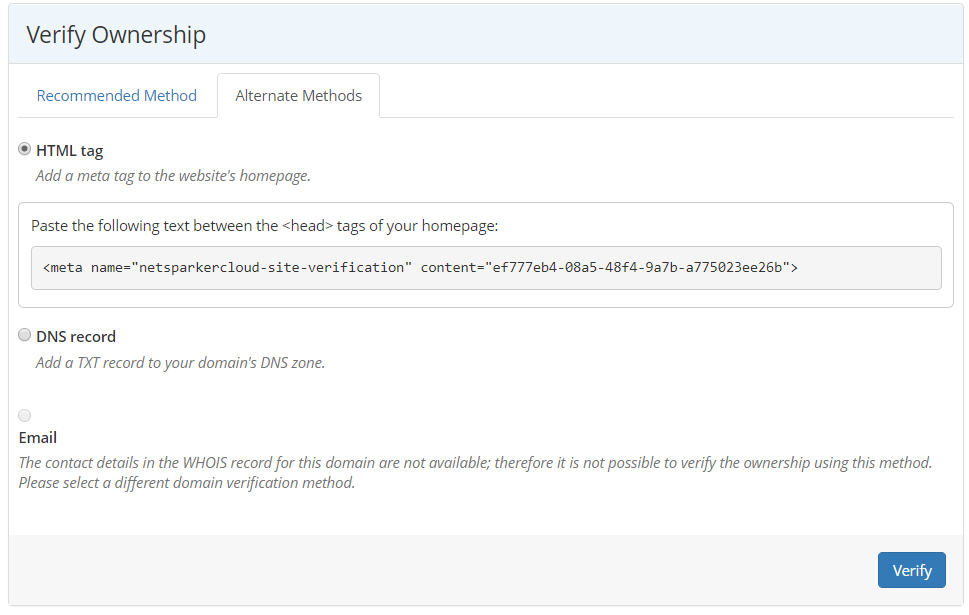
- Click Verify.
- The URL field in the Edit Website window displays a green Verified button, meaning you are now authorized to scan that website.
Verification by TXT Record in DNS
- Log in to Acunetix 360.
- Select Targets > Targets from the left-side menu.
- Click Edit next to the relevant target.
- Click Verify. The Verify Ownership window is displayed.
- Select the Alternate Methods tab.
- Select DNS record.
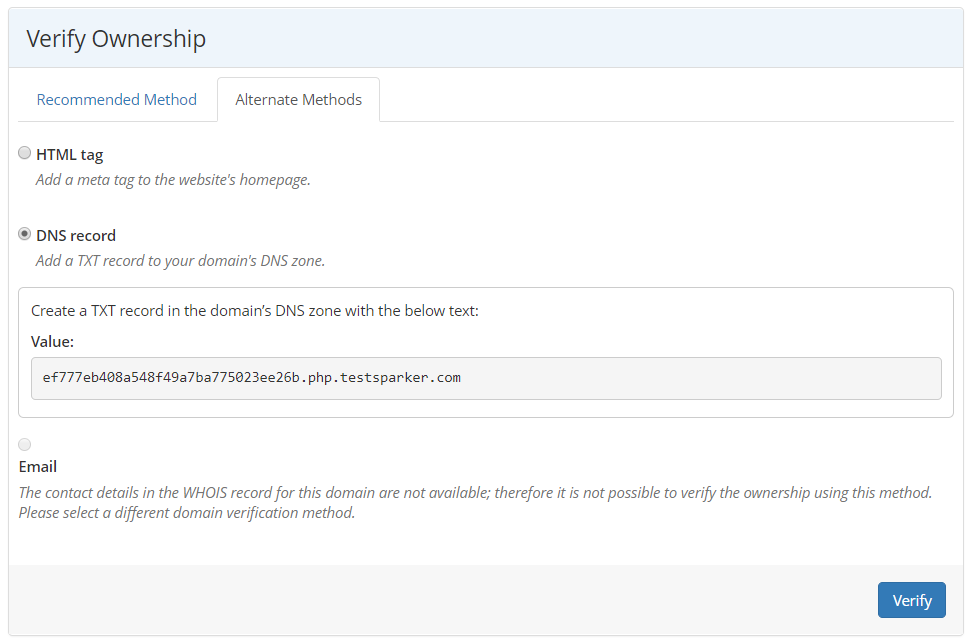
- To use this DNS verification method you need to be able to add a new record to the domain's DNS zone. Add a new TXT record in your domain's zone. The Domain Name and Record (value) for the new TXT DNS record are specified in the verification step.
- Click Verify.
- The URL field in the Edit Website window displays a green Verified button, and you are authorized to scan that website.