Managing roles in Invicti Enterprise
Invicti Enterprise allows you to create roles with preferred and secure permissions. You can add developers, analysts, and other people as team members and assign them different permissions so they can coordinate and perform their roles safely. This document explains the built-in roles and how to add, edit, and delete roles. It also provides a list of the available role permission fields.
Greater flexibility and granularity
You can assign team members to existing roles, target groups, and teams. Or, you can create a unique role so that a team member with a specific task to perform has the correct access. For example, you can have a user who can start a web application security scan but cannot view the scan's reports. Or, that user can view IP restrictions but cannot add or edit these restrictions.
Built-in roles
You have the option to assign both custom roles and built-in roles to your users. While custom roles offer greater flexibility and granularity, built-in roles can provide a convenient starting point for organizing your teams.
The following table lists and explains the available built-in roles.
Role | Description |
Account Owner | Gives users all the permissions in an Invicti Enterprise account. An Account Owner has all permissions to manage scans, reporting, settings, policies, and issues. |
Account Administrator | Gives users permission to manage all other team members and their permissions. An Account Administrator also has permission to manage scans, reporting, settings, policies, API discovery, and issues. |
Manage Websites | Gives users permission to add/update targets, manage target groups, and list usernames. |
Start Scans | Gives users the same permission as Manage Issues. In addition, they have permission to start scans, manage scheduled scans, and manage scan policies. |
View Scan Reports | Gives users the same permission as Manage Issues, except they cannot update issues. |
Manage Issues | Gives users permission to view dashboards and scan reports, list usernames and scans, create reports, and view and update issues. |
Manage Issues (Restricted) | Gives users permission to view scan reports and manage issues (as with Manage Issues), except they cannot update the status of addressed issues as Accepted Risk or False Positive. |
Team Administrator (Limiting Role) | Gives users permission to manage role assignments for Teams. A Team Administrator can assign certain roles and target groups to a specific Team or to Members of a Team. |
For more information, refer to Managing Team Members, Managing Teams, and The Team Administrator Role.
For detailed information about the list of all permissions, refer to Role Permission Fields.
How to add a new role
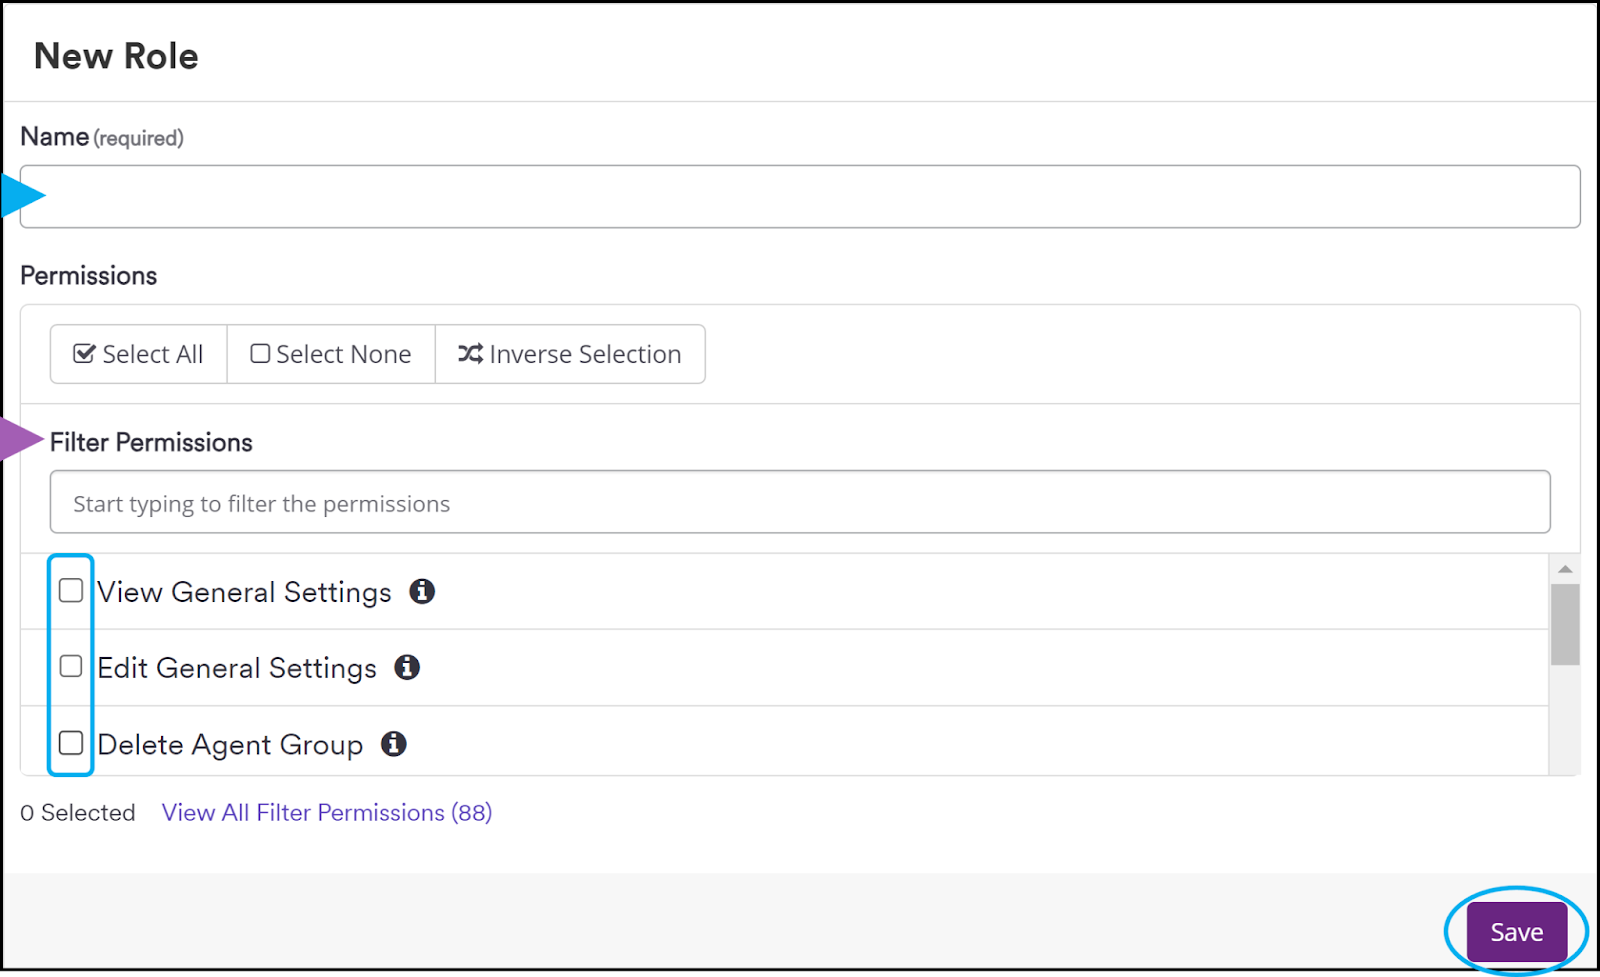
- Log in to Invicti Enterprise.
- Select Team > New Role from the left-side menu.
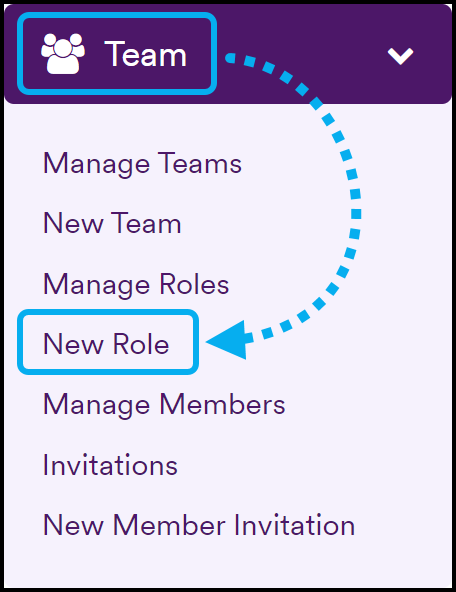
- Enter a Name for the role.
- In the Permissions field, select permissions to add to the role.
TIP: You can use the Filter Permissions field to search for permissions. |

- Click Save to create the new role.
How to edit a role
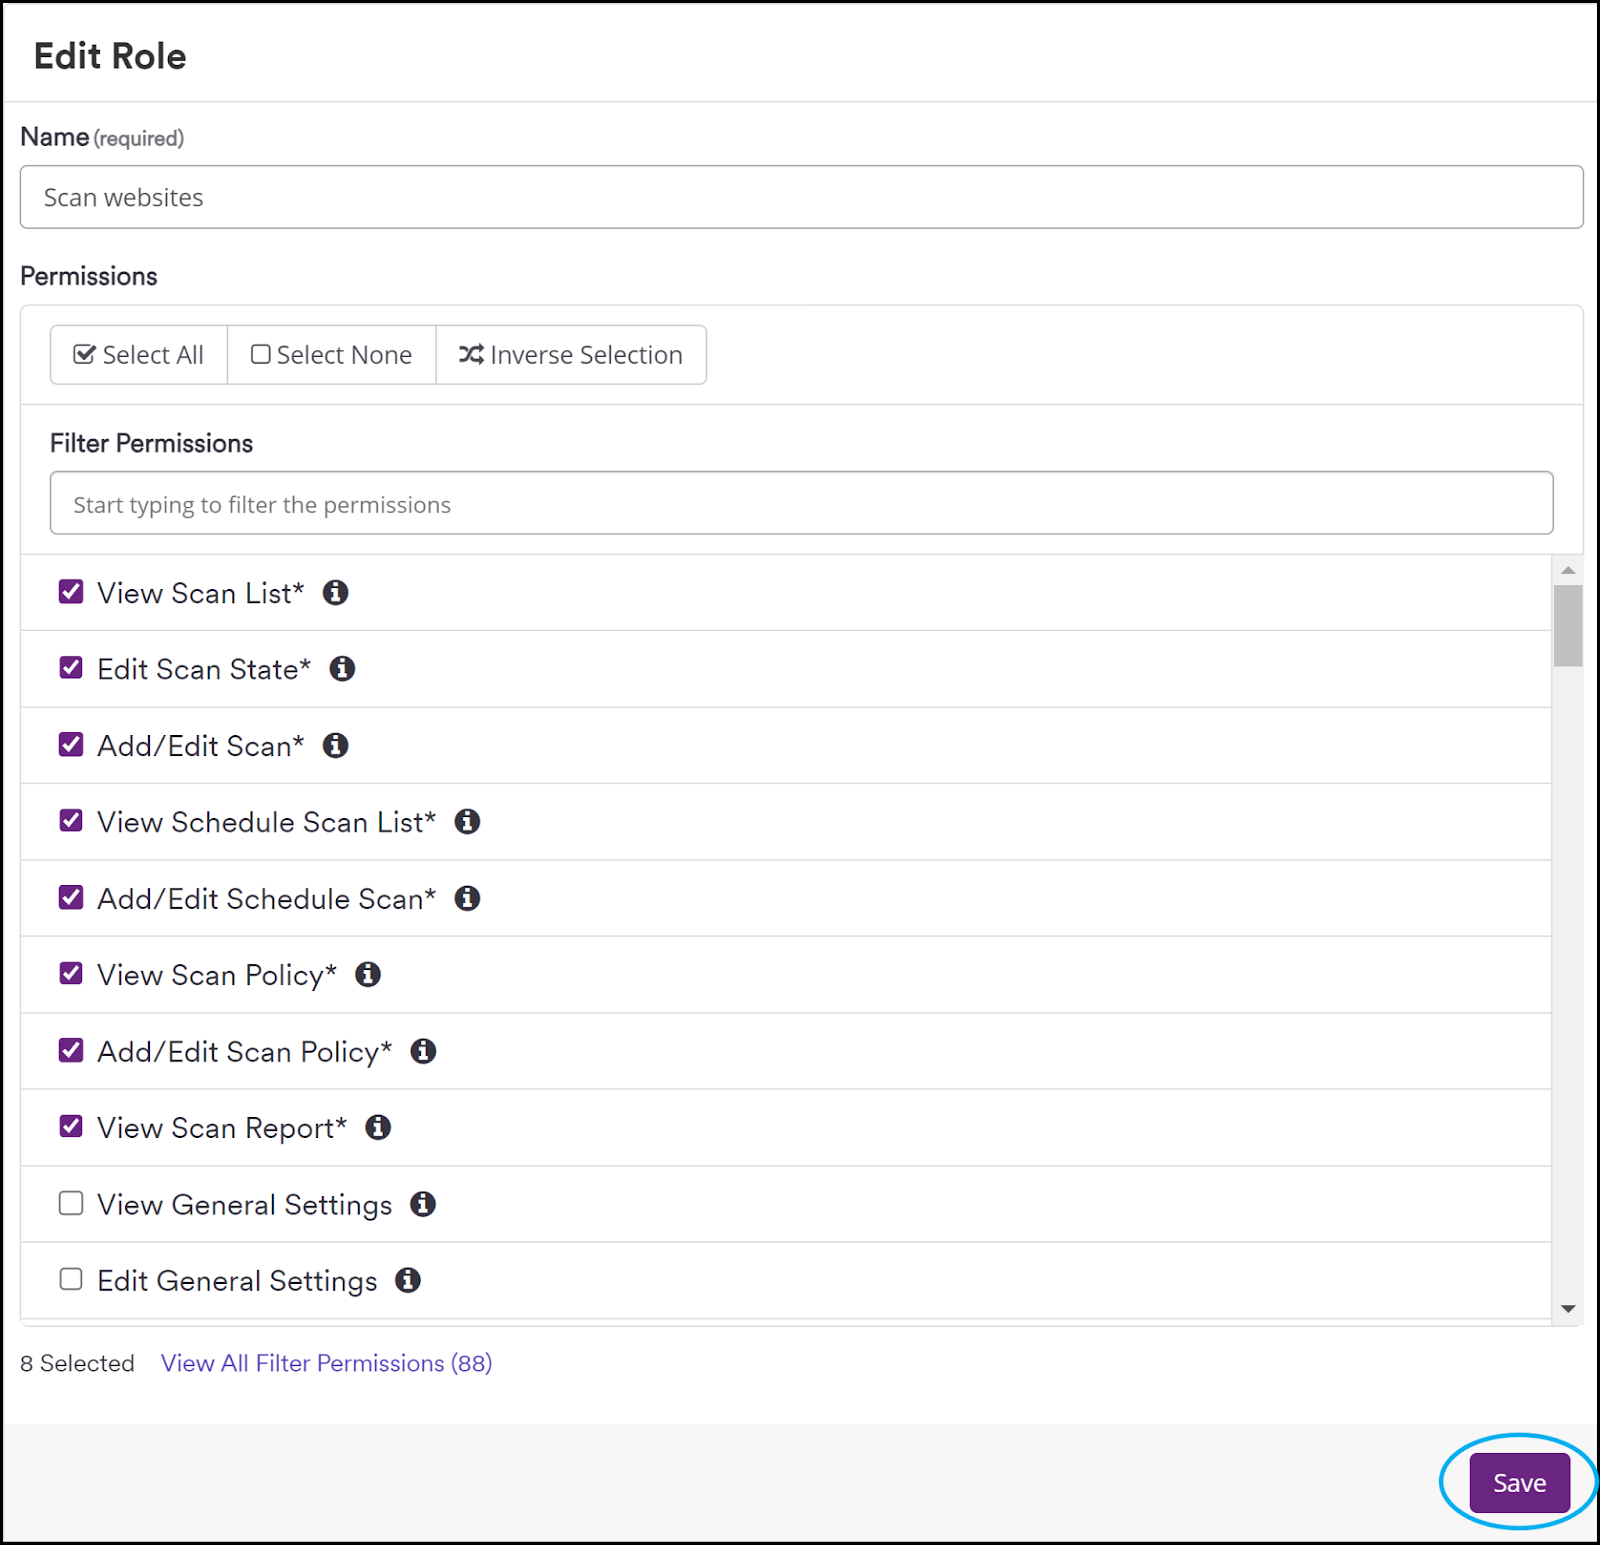
NOTE: You cannot edit or delete built-in roles created by Invicti Enterprise. |

- Select Team > Manage Roles from the left-side menu.

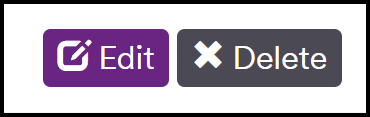
- Next to the relevant role, click Edit.

- On the Edit Role page, make the required changes, such as name and permissions.
- Click Save.
How to delete a role
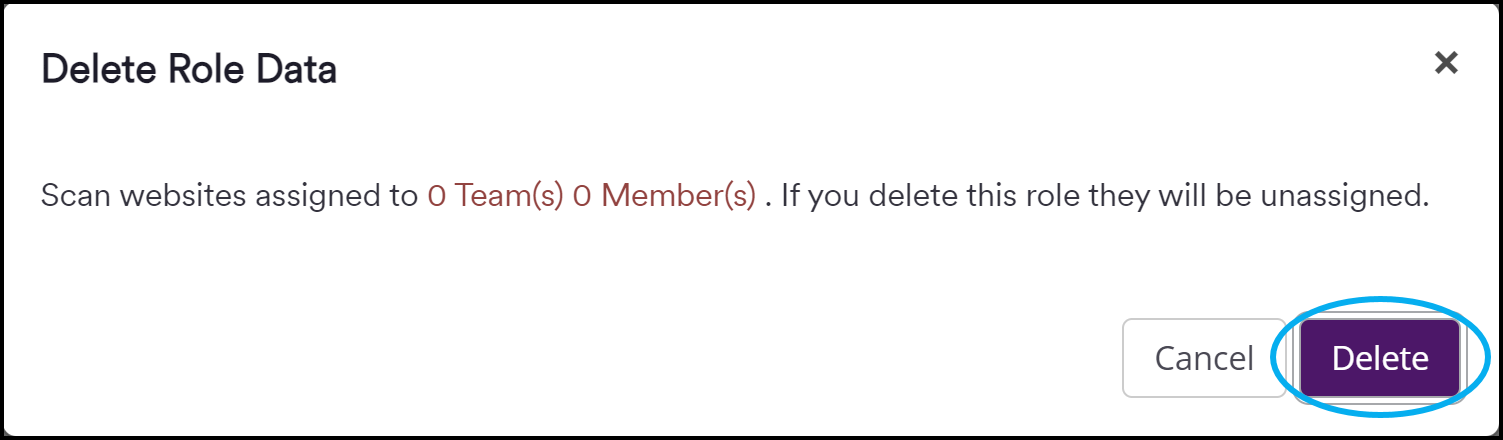
- Select Team > Manage Roles from the left-side menu.
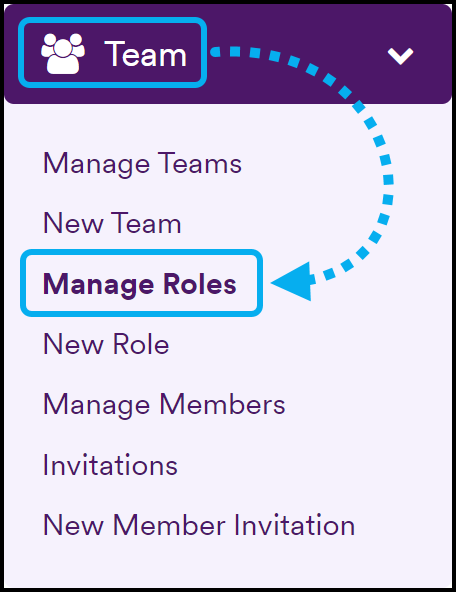
- Next to the relevant role, click Delete.
- Select Delete on the confirmation dialog.
Role Permission Fields
NOTE: The list of permissions varies according to whether you use Invicti Enterprise On-Premises or On-Demand. |
This table lists and explains all the role permissions.
Role | Description |
View General Settings | The user can view general settings. |
Edit General Settings | The user can edit general settings. |
Delete Agent Group | The user can delete an agent group. |
Add/Edit Agent Group | The user can add and edit an agent group. |
View Agent Group List | The user can see an agent group list. |
View Agent List | The user can see an agent list. |
Manage Agent Commands | The user can see and use agent commands. |
Add/Edit Agent | The user can add and edit an agent. (This permission is required to select an agent mode on the Targets page in addition to the View and Edit Targets permissions.) |
Delete Agent | The user can delete an agent. |
View Audit Logs | The user can see audit logs. |
View Custom Script List | The user can see a custom script list. |
Add/Edit Custom Script | The user can add and edit a custom script. |
Delete Custom Script | The user can delete a custom script. |
Execute Custom Script* | The user can execute custom scripts. |
View Discovery Settings | The user can view the discovery settings. |
Edit Discovery Settings | The user can edit the discovery settings. |
View Discovery List | The user can view the discovered websites list. |
Edit Discovery List | The user can edit the discovered websites list. |
Add/Edit Integration | The user can add and edit an integration. |
Delete Integration | The user can delete an integration. |
View Integration List | The user can view the integration list. |
Add/Edit Integration User Mapping | The user can add and edit user mapping for integration. |
Delete Integration User Mapping | The user can delete user integration mapping. |
View Integration User Mapping | The user can view user integration mapping. |
View Scan Report | The user can view scan report. |
View IP Restrictions | The user can view IP restrictions. |
Modify IP Restrictions | The user can add/edit and enable/disable IP restrictions. |
View Account License | The user can view an account license. |
Manage Licenses | The user can manage account licenses. |
Manage Notifications | The user can manage notifications. |
Manage Reporting | The user can manage reporting. |
Add/Edit Report Policy | The user can add and edit a report policy. |
Delete Report Policy | The user can delete a report policy. |
View Report Policy | The user can view a report policy. |
Add/Edit Scan Policy | The user can add and edit a scan policy. |
Delete Scan Policy | The user can delete a scan policy. |
View Scan Policy | The user can view a scan policy. |
View Website Dashboard | The user can view the target dashboard. |
Add Website | The user can add a target. |
Edit Website | The user can edit a target. |
Import Website | The user can import a target. |
View Website List | The user can view the targets list. |
View Global Dashboard | The user can view the global dashboard. |
Delete Website | The user can delete a target. |
Delete Website Group | The user can delete a target group. |
Add Website Group | User can add a target group |
Edit Website Group | The user can edit a target group. |
View Website Group List | The user can view a target group list. |
Manage Technologies | The user can manage technologies. |
Manage SSO | The user can manage Single Sign-On. |
Manage Settings | The user can manage application settings. |
Add/Edit Scheduled Scan | The user can add and edit a scheduled scan. |
Delete Scheduled Scan | The user can delete a scheduled scan. |
View Scheduled Scan List | The user can view a scheduled scan list. |
Add/Edit Scan* | The user can add and edit a scan. |
Edit Scan State | The user can edit a scan state. |
Delete Scan | The user can delete a scan. |
View Scan List | The user can view a scan list. |
View Issue List And Detail | The user can view an issue list and detail. |
Mark Issue As Fixed | The user can mark an issue as fixed. |
Mark Issue As False Positive | The user can mark an issue as a false positive. |
Mark Issue As Accepted Risk | The user can mark an issue as an accepted risk. |
Enforce 2FA | The user can configure Two-factor Authentication. |
View Team List | The user can view a team list. |
Add Team | The user can add a team. |
Edit Team | The user can edit a team. |
Delete Team | The user can delete a team. |
View Member List | The user can view a member list. |
Edit Member | The user can edit a member. |
Delete Member | The user can delete a member. |
View Role List | The user can view a role list. |
Add Role | The user can add a role. |
Edit Role | The user can edit a role. |
Delete Role | The user can delete a role. |
Can Bypass SSO Login | The user can bypass Single Sign-On Login (can log in with email and password). |
User Can See Only Own Data | Users can see only their own data for scan profiles, report policies, and notifications. |
Reset Agent Token | The user can reset the agent token. |
View Member Invitation List | The user can view a member invitation list. |
Add Member Invitation | The user can add a member invitation. |
Delete Member Invitation | The user can delete a member invitation. |
View Authentication Profile List | The user can view an authentication profile list. |
Add Authentication Profile | The user can add an authentication profile. |
Edit Authentication Profile | The user can edit an authentication profile. |
Delete Authentication Profile | The user can delete an authentication profile.. |
Mark Issue As Fixed(Can't Retest)* | The user can mark an issue as Fixed(Can't retest). |
Manage Notifications(Account) | The user can manage all account notifications. |
Can Modify Account Profile and Policies | The user can modify the scan profile, report policy, and scan policy. |
Edit my Team's Role | The user can edit the roles of their team members. |
View API Inventory | The user can view the API Inventory page. |