Import targets
This document is for:
Invicti Enterprise On-Demand, Invicti Enterprise On-Premises
If you have a large number of different web assets you want to scan, you can import them all at once by uploading them as a CSV file. Alternatively, you can use the Text method to paste in multiple URLs. These are more convenient options than adding each URL as a target one by one. This guide explains how to import multiple targets to Invicti Enterprise all at once.
TIP: You can download a sample file from the Import Targets page in Invicti Enterprise. If you edit and upload the file back into Invicti Enterprise, the first column populates the URL field while the second column populates the Name field, for every web asset. |

How to import multiple targets
- Prepare your source file with the URLs and Names of all the web assets you want to add as targets for scanning.
- Log in to Invicti Enterprise.
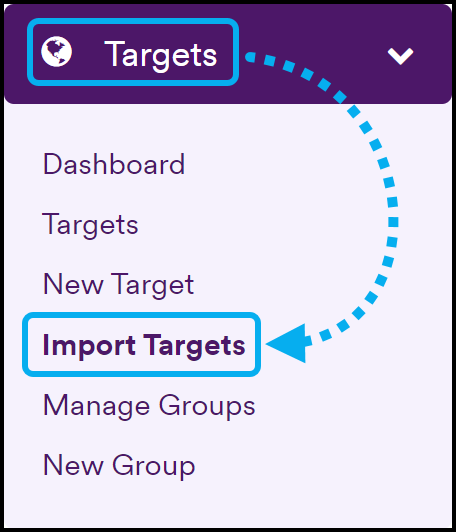
- Select Targets > Import Targets.
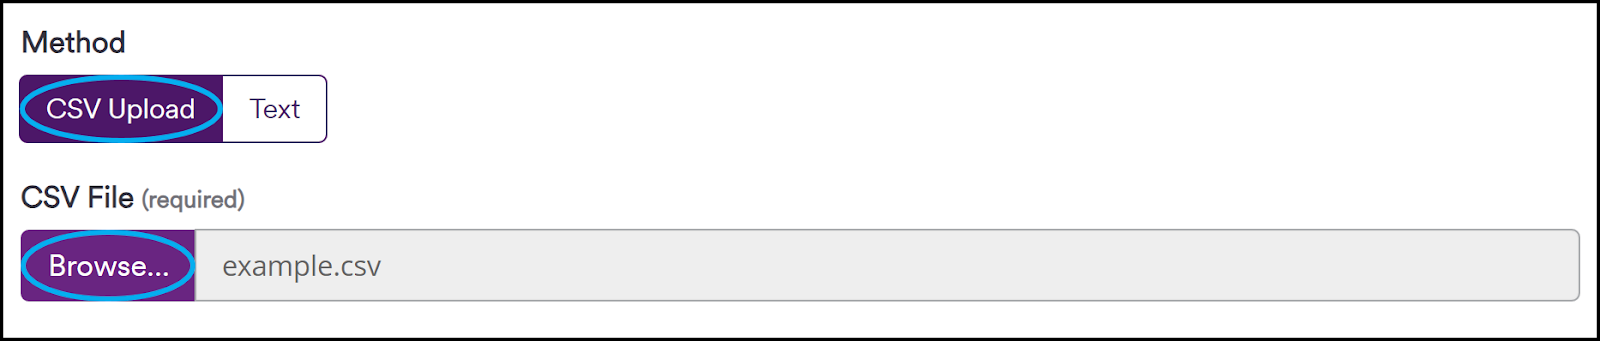
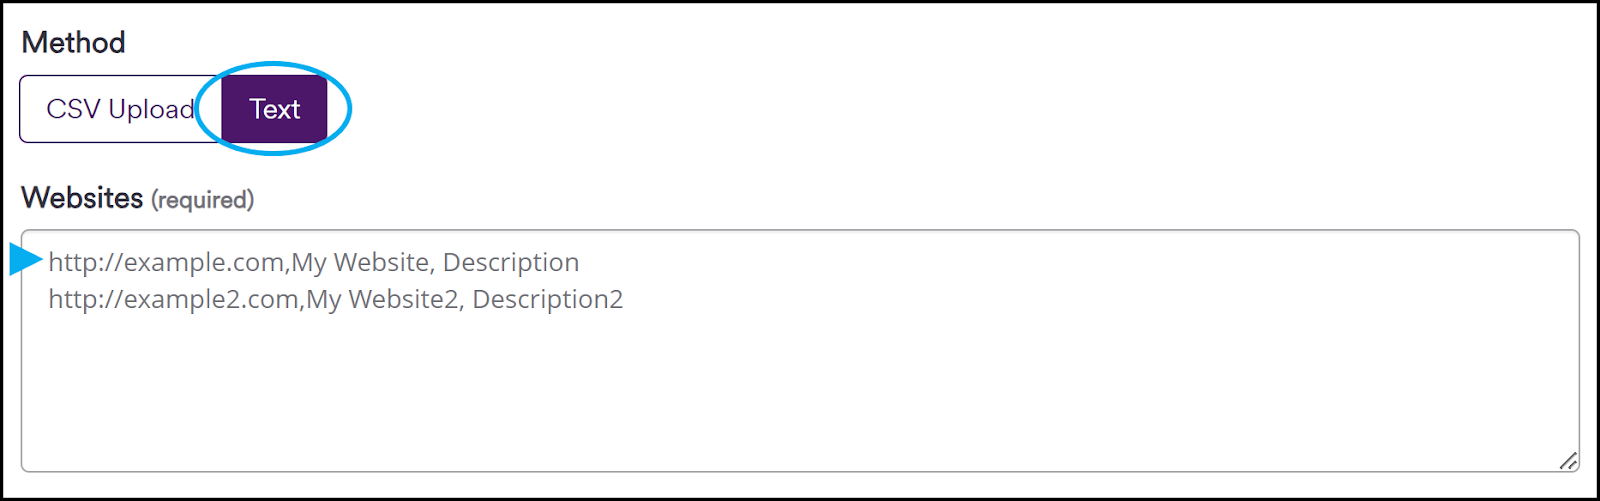
- Select your Method and follow the relevant instructions below:
- CSV Upload: Click Browse, select the CSV source file you previously prepared, then click Open.
- Text: In the Websites field, enter or copy-paste the URLs, names, and descriptions of the targets you are adding.
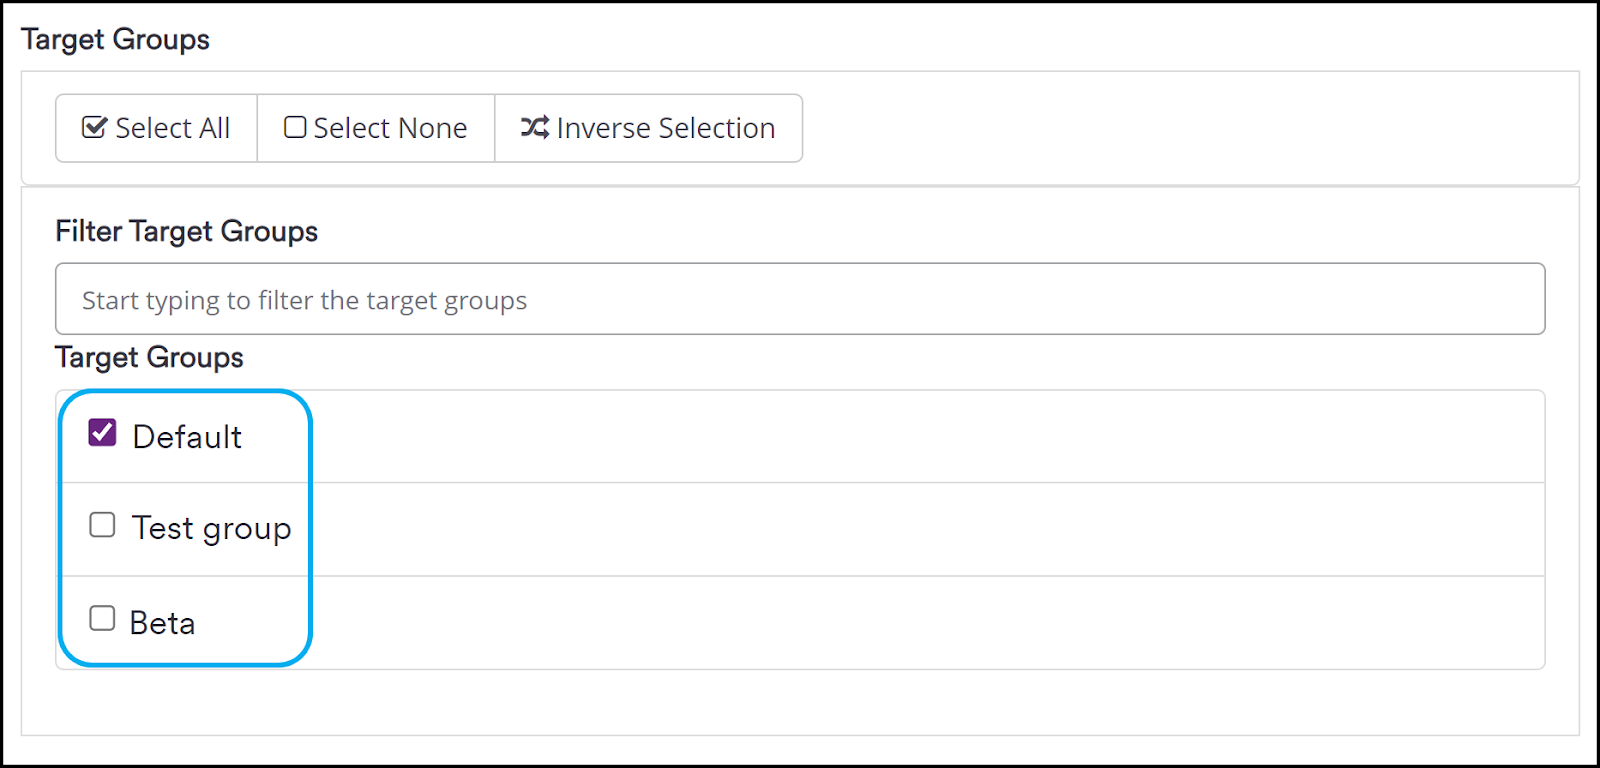
- In the Target Groups section, optionally select additional target groups that will be applied to all imported targets. By default, all new targets are added to the Default target group. For more information, refer to Managing Target Groups.
- Select an appropriate Technical Contact from the drop-down list of users on your Invicti Enterprise account. When the target is scanned, discovered issues will be assigned to this person, who will receive notifications about the new issues. The technical contact you select will be applied to all imported targets.

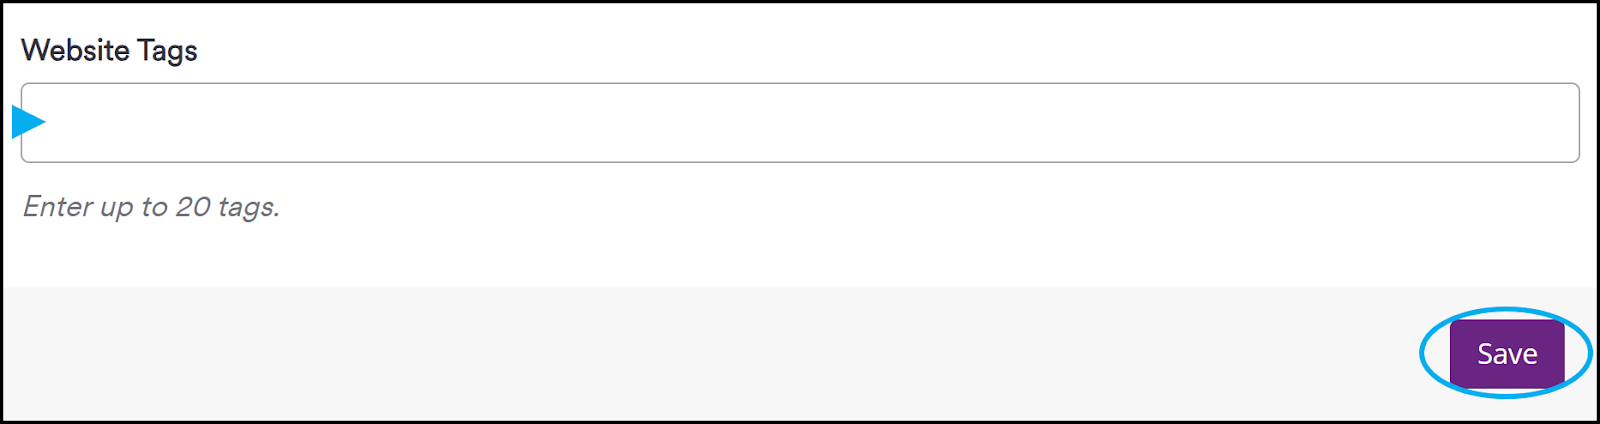
- Optionally, enter up to 20 Website Tags. These are usually labels to group or give additional context to the targets. Any tag you add will be applied to all imported targets. For more information, refer to Tagging in Invicti Enterprise.
- Click Save.
Your targets are now imported and are available to view on the Targets > Targets page.